
Get Started!
1,000 MAU and 25 connections free forever

Note: We’ve updated this tutorial and sample code as of 11/10/2017. Please see the first article in our new React Native Chat tutorial series here.
Build a Messaging App Using React Native using SendBird
This tutorial is based on SDK 2.0 outdated as of Sep. 2016. Please refer to the updated sample built with SDK 3.0 here
React and React Native is gaining a lot of momentum these days. For this tutorial, we’ll quickly build a messaging app using React Native with SendBird’s JavaScript SDK.
1. React Native’s Strengths
Most of the apps today are built natively but, hybrid apps are developed using Webviews, so they have been limited in what properties and features they can use compared to the native counterparts. By using React Native, we can overcome these shortcomings of hybrid apps and utilize the native apps’ properties.
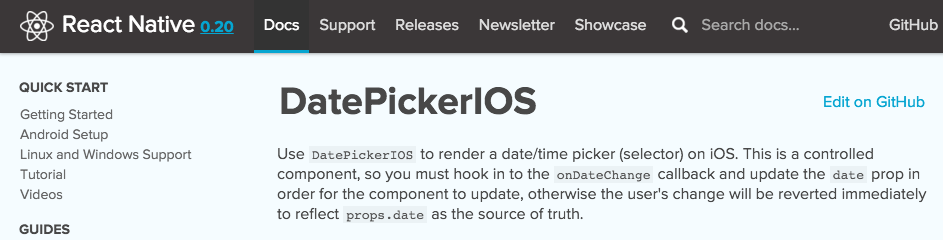 http://facebook.github.io/react-native/docs/datepickerios.html#content
Apps developed using Webviews are also quite slow compared to the native apps. React Native separates out the JavaScript codes and the native codes into different threads, and the communication between the two are done asynchronously resolving the slow speed issue. This results in faster performance compared to the hybrid apps.
Finally, React Native can be developed using JavaScript, so if you are new to the native app development, you can use your existing knowledge and experience to ramp up your development speed.
React Native is already being used by Facebook Group iOS App and Facebook Ads Manager (Android, iOS).
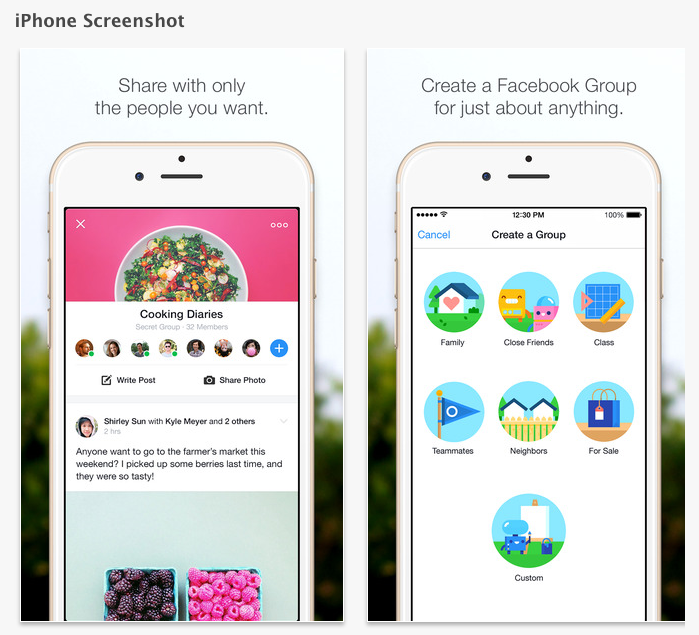 https://itunes.apple.com/us/app/facebook-groups/id931735837
2. React Native Tutorial with SendBird JavaScript SDK
This tutorial is composed of four pieces:
- React Native Environment Setup
- Login Feature – 1) The screen, 2) The inputs, 3) Debugging 4) Logging into SendBird
- Channel List Feature – 1) The screen, 2) Getting the channel list, 3) Entering a channel
- The Messaging Feature – 1) The screen, 2) The inputs and the back button, 3) Sending and receiving messages
1) React Native Environment Setup
You can easily get SendBird’s JavaScript SDK using Bower or npm. You can also download from our Github Repository as well. Using this JavaScript SDK, we’ll learn how to build an iOS messaging app using React Native.
We are using React Native version 0.20.0, SendBird JavaScript SDK version 2.1.6 for this tutorial. For the editor, we’re using Atom, which is a decent editor, but you can also use your favorite editor in its place.
This tutorial was written with OS X in mind, and we are using the following functions on React Native:
- Navigator, View, Text, Image, TextInput, ListView, ScrollView, TouchableHighlight, StyleSheet, Dimensions
Let’s setup React Native development environment. Getting Started documentation on React Native’s official website has a great guide to help you get started.
You need Node.js version 4.0 or above installed. To track file changes, we recommend installing watchman.
Finally, let’s install React Native using npm:
npm install -g react-native-cli
Now, we’re ready to develop using React Native!
Let’s go ahead and create a project:
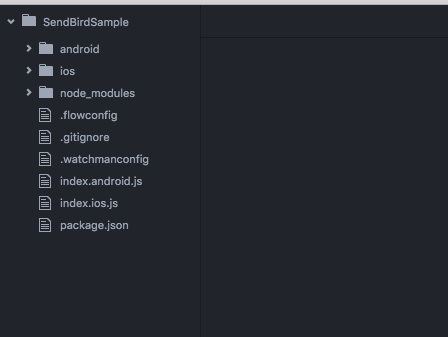
react-native init SendBirdSample
Once the project has been created, if you look into the project folder using the editor, it will look something like this:
You can also download the JavaScript SDK and copy into the project folder manually, but we’ll be using npm to install SendBird this time:
cd SendBirdSample
npm install sendbird --save
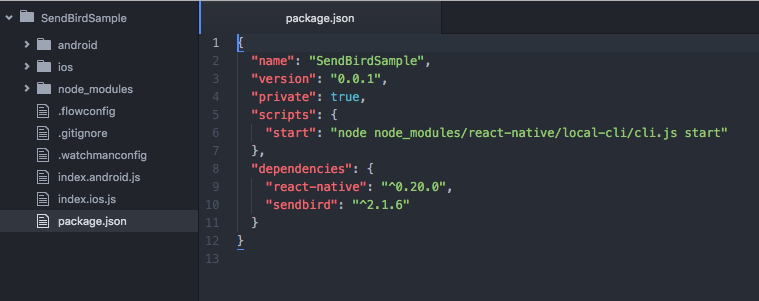
Once the installation has been completed, you will find the installed package via package.json file.
2) The Login Feature
2-1) Building the Screen
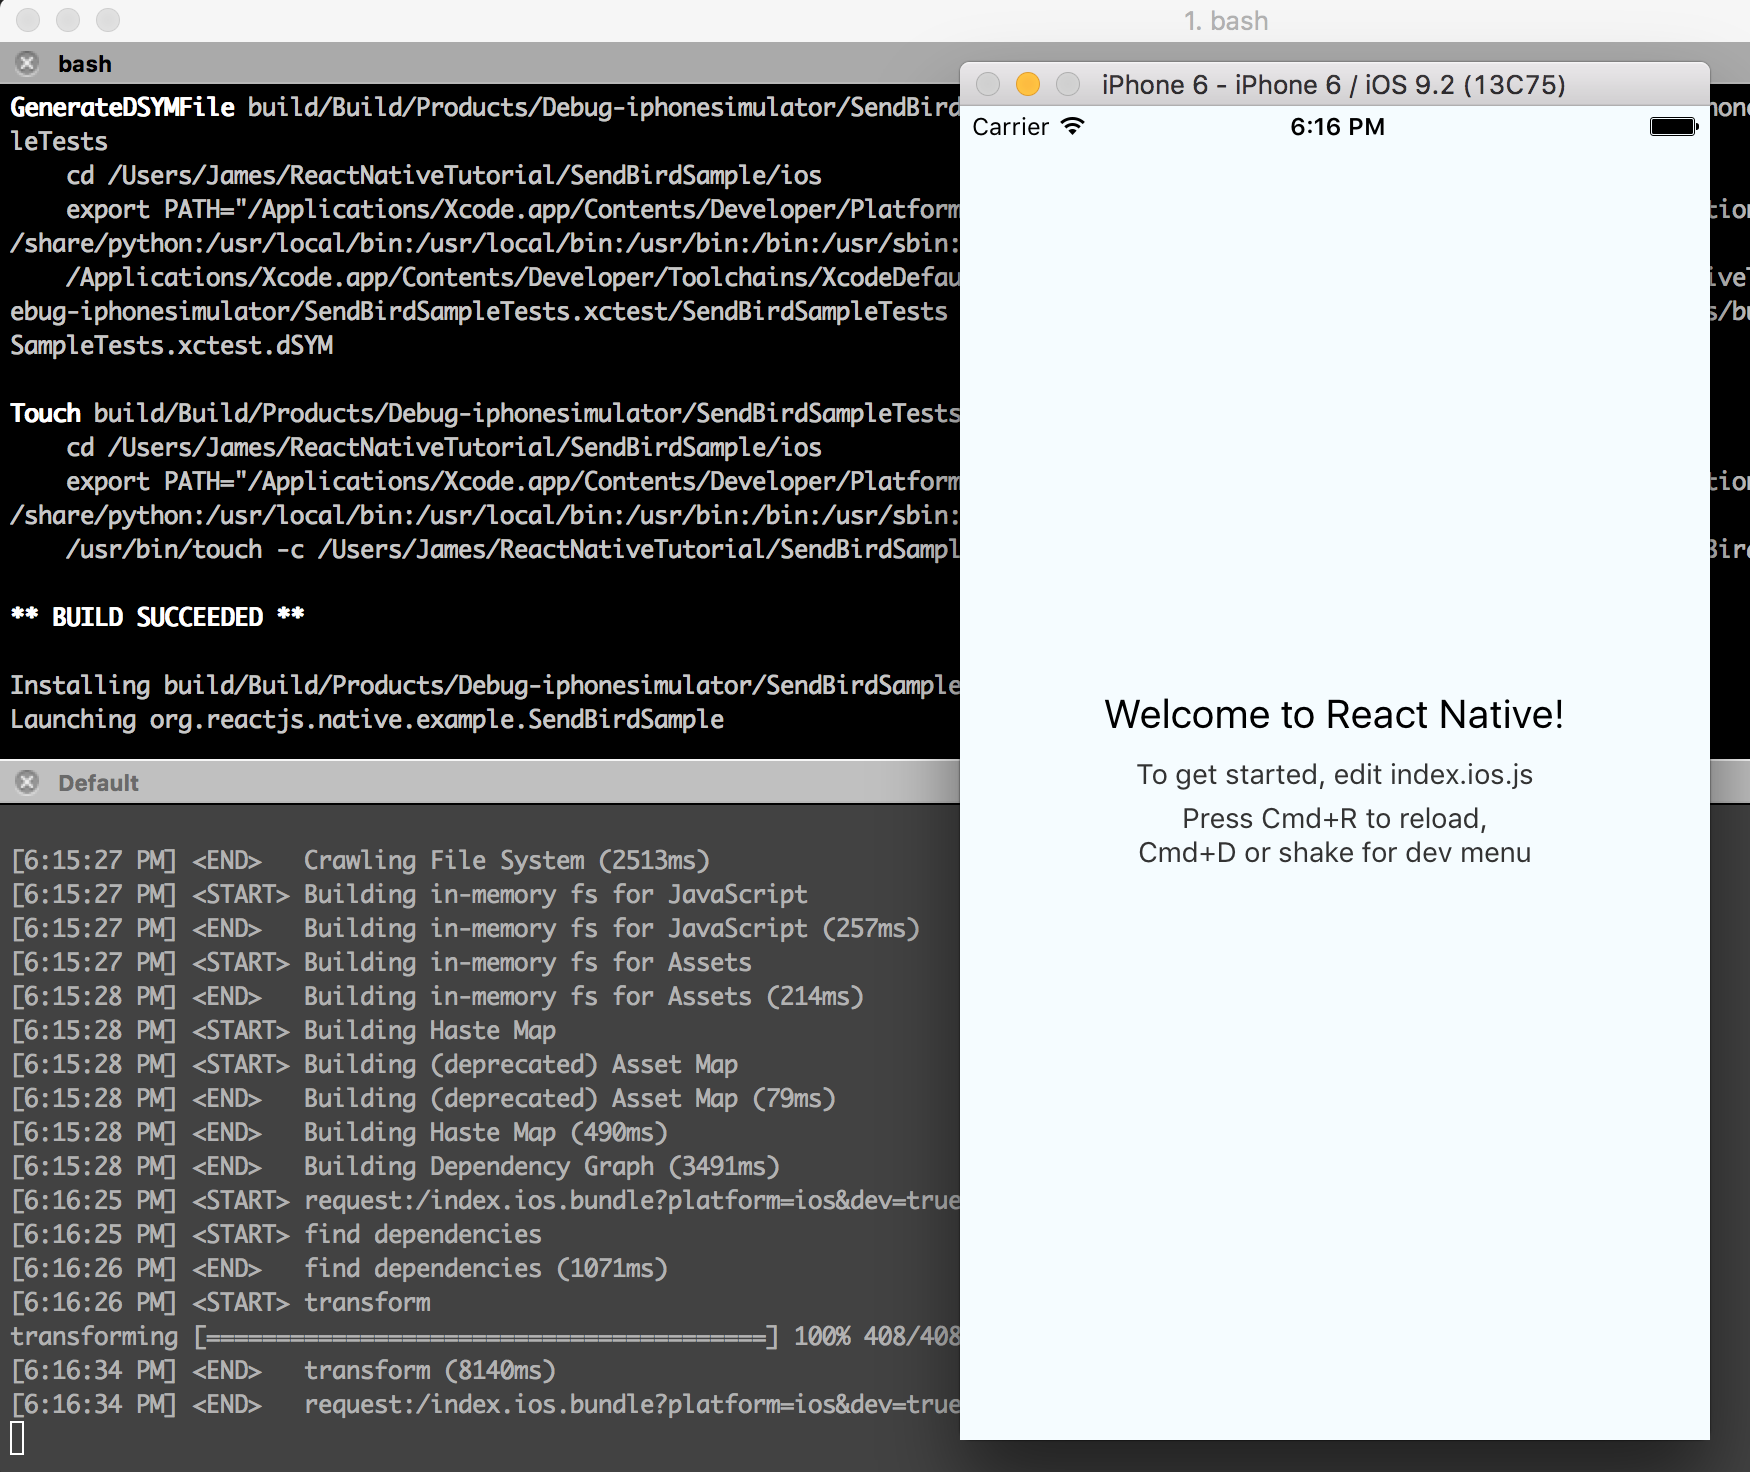
You can build using Xcode, but let’s use the good ol’ command line to run React Native:
npm start
react-native run-ios
When you run the commands above, you will see a screen like below:
Here, we’ll use the Navigator component for screen transitions.
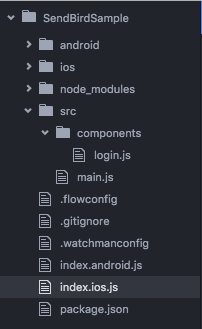
Let’s start by creating a folder named src within the project folder, and create main.js file within that folder. Then within the src folder, create a folder named components and create login.js within that folder:
We’ll need to edit the index.ios.js as follows to use main.js that we’ve just created:
And of course, we’ll have to edit src/main.js as follows to use login.js and have the Navigator component use this file as well.
After that, we need to edit src/components/login.js as follows to render the screen for the login.
var React = require('react-native');
var { View, Text, StyleSheet } = React;

module.exports = React.createClass({
  render: function() {
    return (

        SendBird JavaScript SDK!!!

    );
  }
});

var styles = StyleSheet.create({
  container: {
    flex: 1,
    justifyContent: 'center',
    alignItems: 'stretch',
    backgroundColor: '#6E5BAA'
  }
});
Now if you refresh the simulator (command+R), you will see a screen like this:
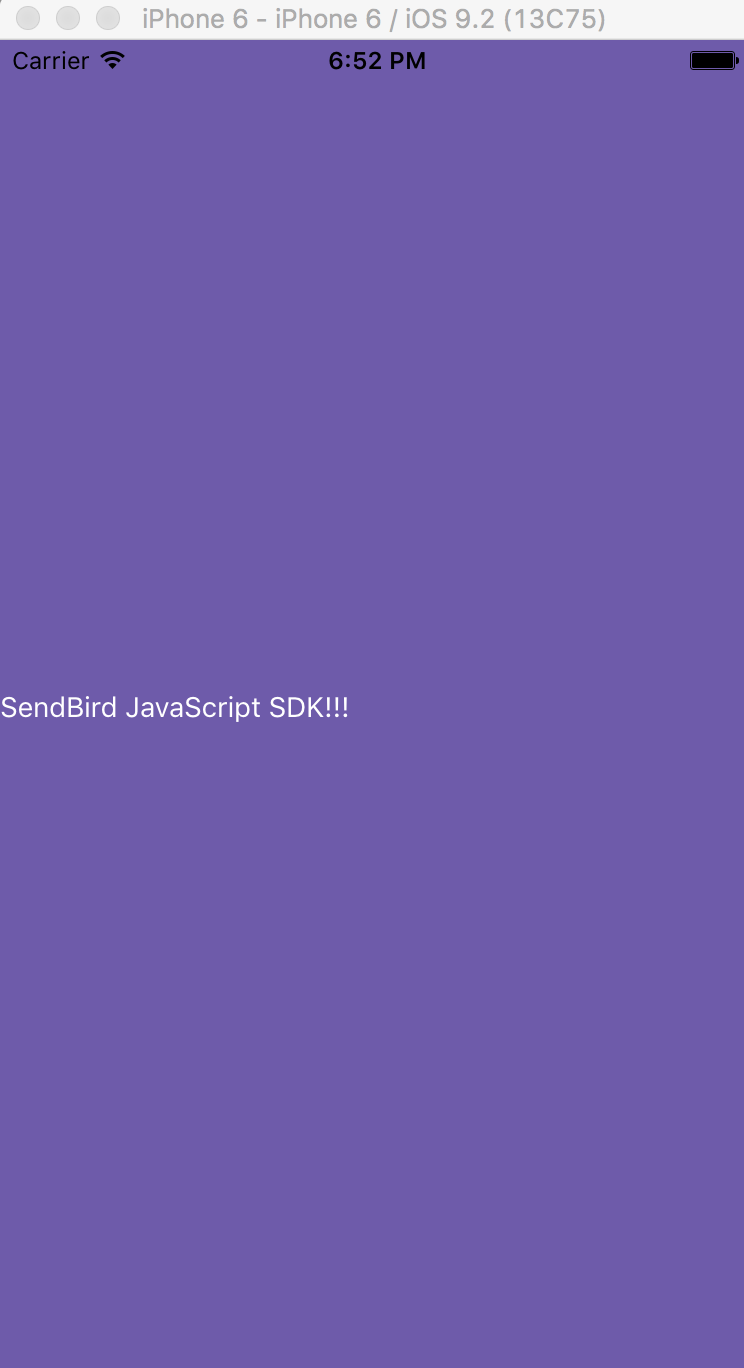
Here we’ve used View, Text, Navigator components and StyleSheet API. Refer to the official documents to learn more about the details.
2-2) The Inputs
Here, we’ll implement a text input for receiving user’s nickname and the login button. Let’s start by editing src/conponents/login.js as follows, which includes many styling aspects to make it look decent enough for our tutorial:
var React = require('react-native');

{% row %}
var {
  View,
  Text,
  TextInput,
  TouchableHighlight,
  StyleSheet
} = React;
module.exports = React.createClass({
  getInitialState: function () {
    return {
      username: ''
    };
  },
  render: function () {
    return (
<View style={styles.container}> <View style={styles.loginContainer}> <TextInputstyle={styles.input}value={this.state.username}onChangeText={(text) => this.setState({ username: text })}placeholder={'Enter User Nickname'}maxLength={12}multiline={false} /> <TouchableHighlightstyle={styles.button}underlayColor={'#328FE6'}onPress={this.onPress} > <Text style={styles.label}>LOGIN</Text> </TouchableHighlight> </View> </View>
    );
  },
  onPress: function () {
    console.log(this.state.username);
  }
});

var styles = StyleSheet.create({
  container: {
    flex: 1,
    justifyContent: 'center',
    alignItems: 'stretch',
    backgroundColor: '#6E5BAA'
  },
  loginContainer: {
    flex: 1,
    justifyContent: 'center',
    alignItems: 'center',
  },
  input: {
    width: 250,
    color: '#555555',
    padding: 10,
    height: 50,
    borderColor: '#32C5E6',
    borderWidth: 1,
    borderRadius: 4,
    alignSelf: 'center',
    backgroundColor: '#ffffff'
  },
  button: {
    justifyContent: 'center',
    alignItems: 'center',
    borderWidth: 1,
    borderRadius: 5,
    borderColor: '#328FE6',
    padding: 10,
    marginTop: 10,
    backgroundColor: '#32c5e6'
  },
  label: {
    width: 230,
    flex: 1,
    alignSelf: 'center',
    textAlign: 'center',
    fontSize: 20,
    fontWeight: '600',
    color: '#ffffff'
  }
});
      {% endrow %}
Just like that, we have an input field to receive the user’s nickname and the login button to start chatting:
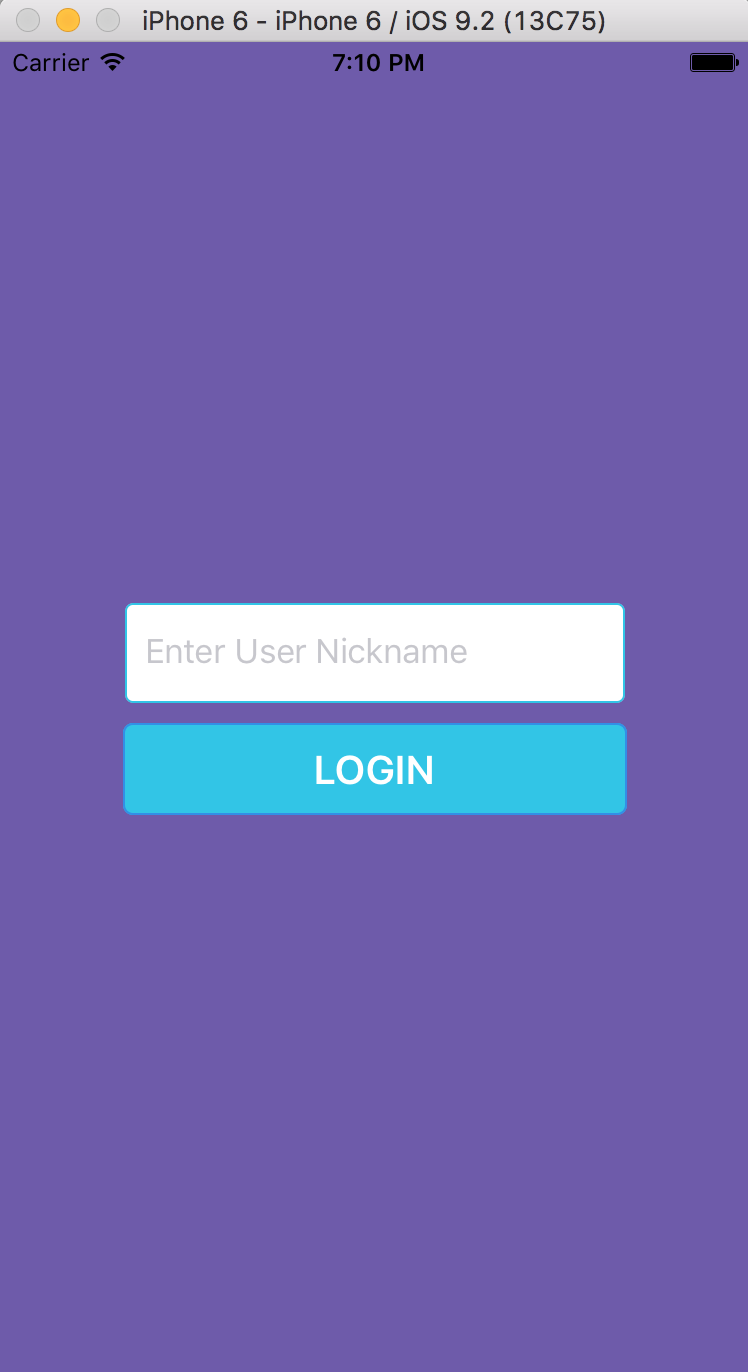
Here we’ve used TextInput and TouchableHighlight component.
2-3) Debugging
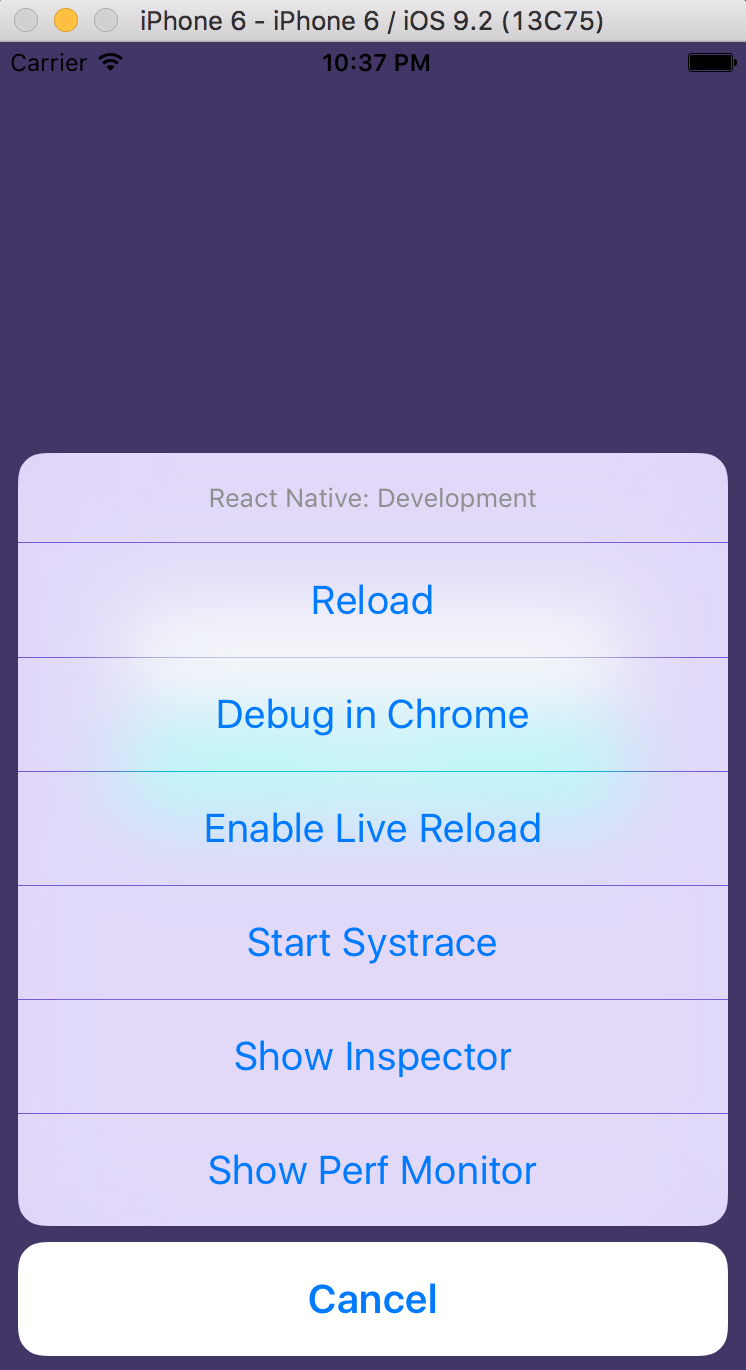
For us to monitor the console.log() that’s coded on onPress function, we need to open the debug window. When you press Command + D, you will see a screen like below:
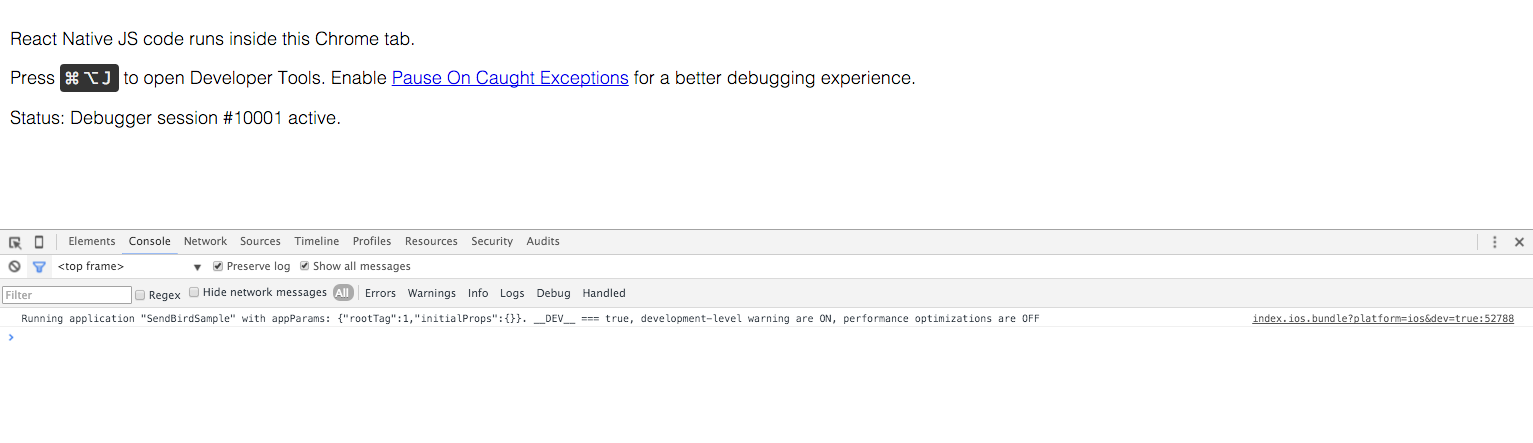
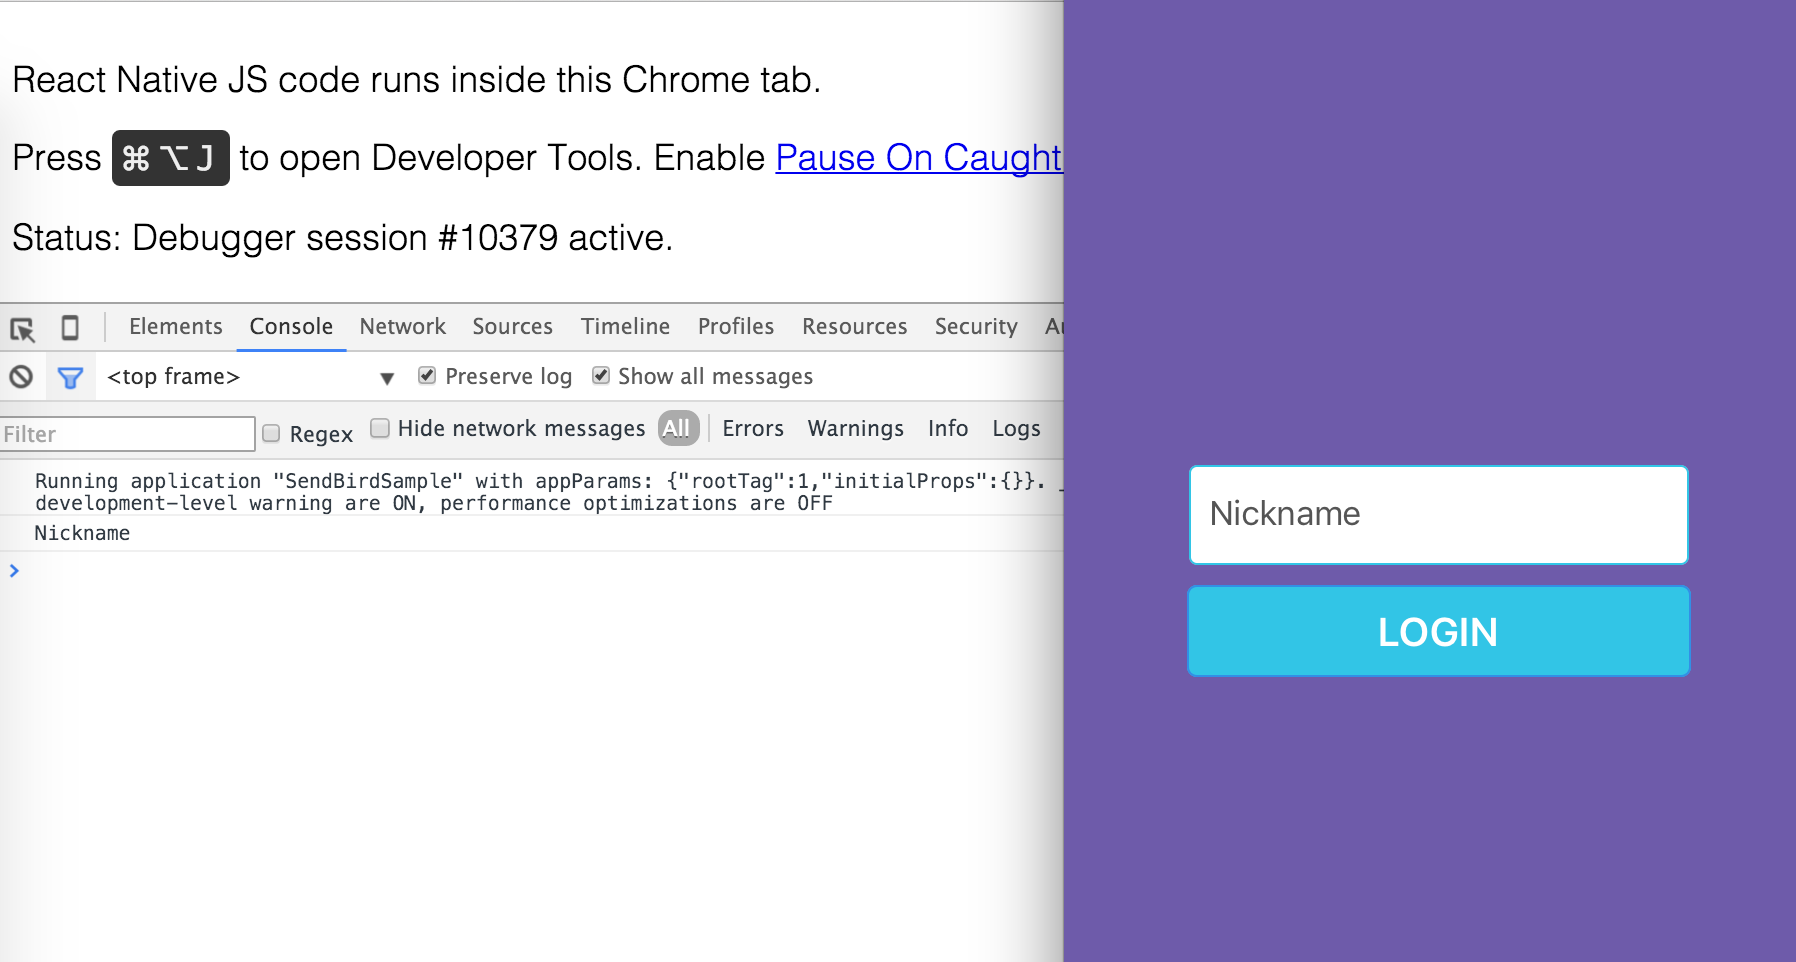
When you click Debug in Chrome, a Chrome window will open. Here you can use the Chrome developer tools to monitor the outputs written by console.log():
When you type in the nickname and click the login button, you can see that the value is being submitted correctly:
2-4) Logging into SendBird
Now for the messaging part: To use SendBird’s JavaScript SDK, we need to declare as follows:
var React = require('react-native');
var {
  View,
  Text,
  TextInput,
  TouchableHighlight,
  StyleSheet
} = React;
var sendbird = require(‘sendbird’);
module.exports = React.createClass({
getInitialState: function() {
return {
username: ”
};
},
and we edit the onPress function as follows to include necessary variables such as user_name and guest_id (a unique identifier for chat rooms) to start messaging:
onPress: function() {
  sendbird.init({
    app_id: 'A7A2672C-AD11-11E4-8DAA-0A18B21C2D82',
    guest_id: this.state.username,
    user_name: this.state.username,
    image_url: "",
    access_token: "",
    successFunc: (data) => {
      console.log('success');
    },
    errorFunc: (status, error) => {
      this.setState({username: ''});
    }
  });
}
The app_id used here is a pre-defined value used for our sample apps, but you can also use your own app_id that you get when you create a new app on SendBird’s dashboard.
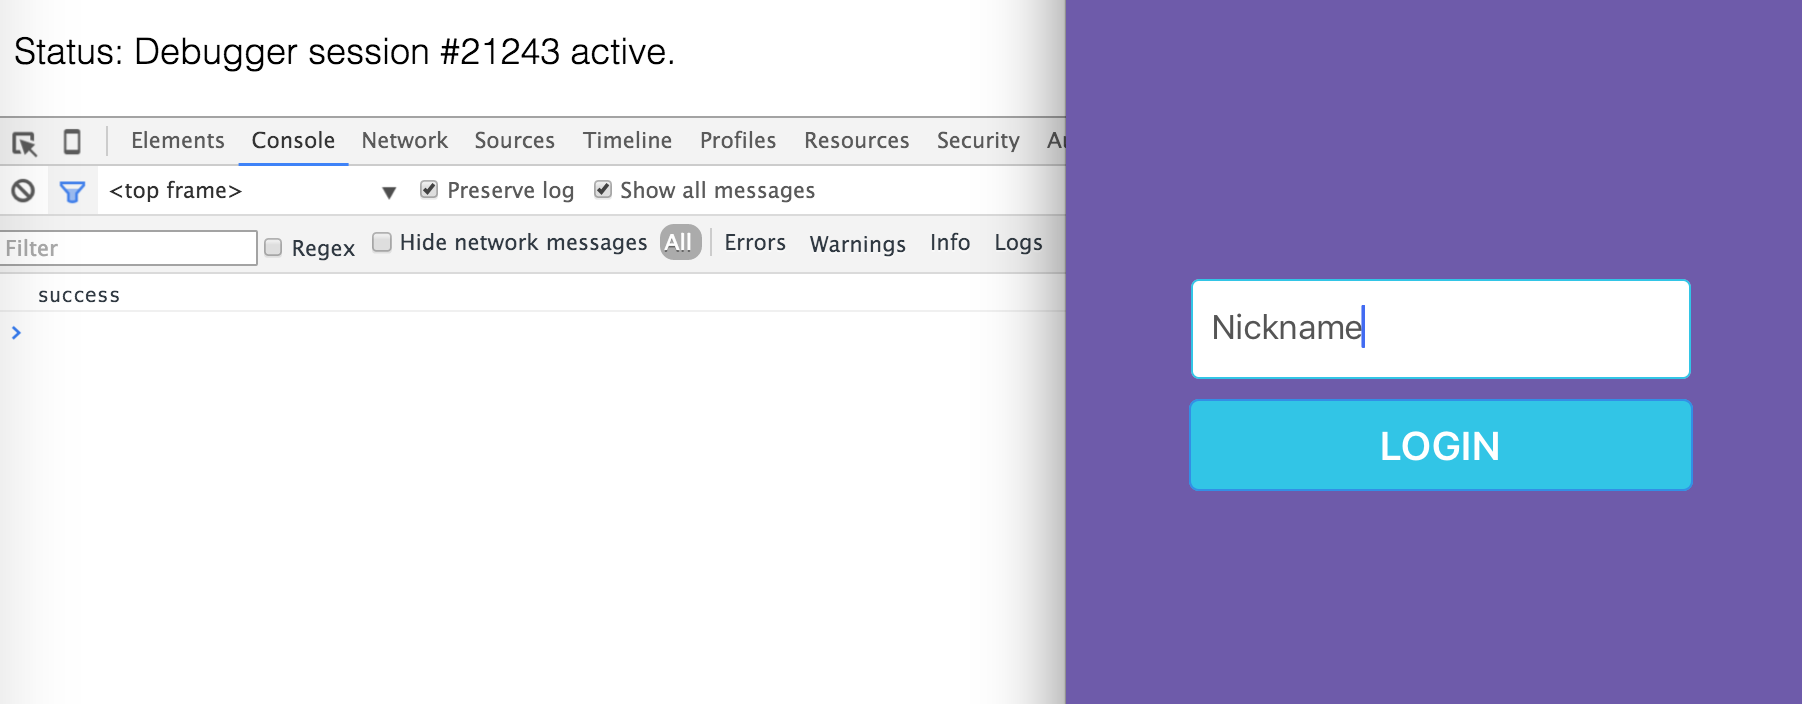
Let’s refresh the app, type in your nickname and press the login button to confirm that you have a ‘success’ output on the console window:
3) Channel List Feature
Now we need to create the screen to handle the list of messaging channels to chat in.
3-1) The Screen
Create channels.js file within the src/components/ folder and edit as follows to create a bare screen:
var React = require('react-native');
var {
  View,
  Text,
  StyleSheet
} = React;
var sendbird = require(‘sendbird’);
module.exports = React.createClass({
render: function() {
return (
<View style={styles.container}>
<Text style={{color: ‘#fff’}}>Channels</Text>
</View>
);
}
});
var styles = StyleSheet.create({
container: {
flex: 1,
justifyContent: ‘center’,
alignItems: ‘stretch’,
backgroundColor: ‘#6E5BAA’
}
});
We need to edit the main.js file and add channels.js to ROUTES to allow access to the channels screen:
var Login = require('./components/login');
var Channels = require('./components/channels');
var ROUTES = {
login: Login,
channels: Channels
};
Now, let’s edit the onPress function within login.js file to retrieve and display the list of channels when the button is pressed:
onPress: function() {
  sendbird.init({
    app_id: 'A7A2672C-AD11-11E4-8DAA-0A18B21C2D82',
    guest_id: this.state.username,
    user_name: this.state.username,
    image_url: "",
    access_token: "",
    successFunc: (data) => {
      this.props.navigator.push({ name: 'channels' });
    },
    errorFunc: (status, error) => {
      this.setState({username: ''});
    }
  });
}
Refresh the simulator, type in your nickname and then push the login button. After a brief animation, you will see the following skeleton screen appear: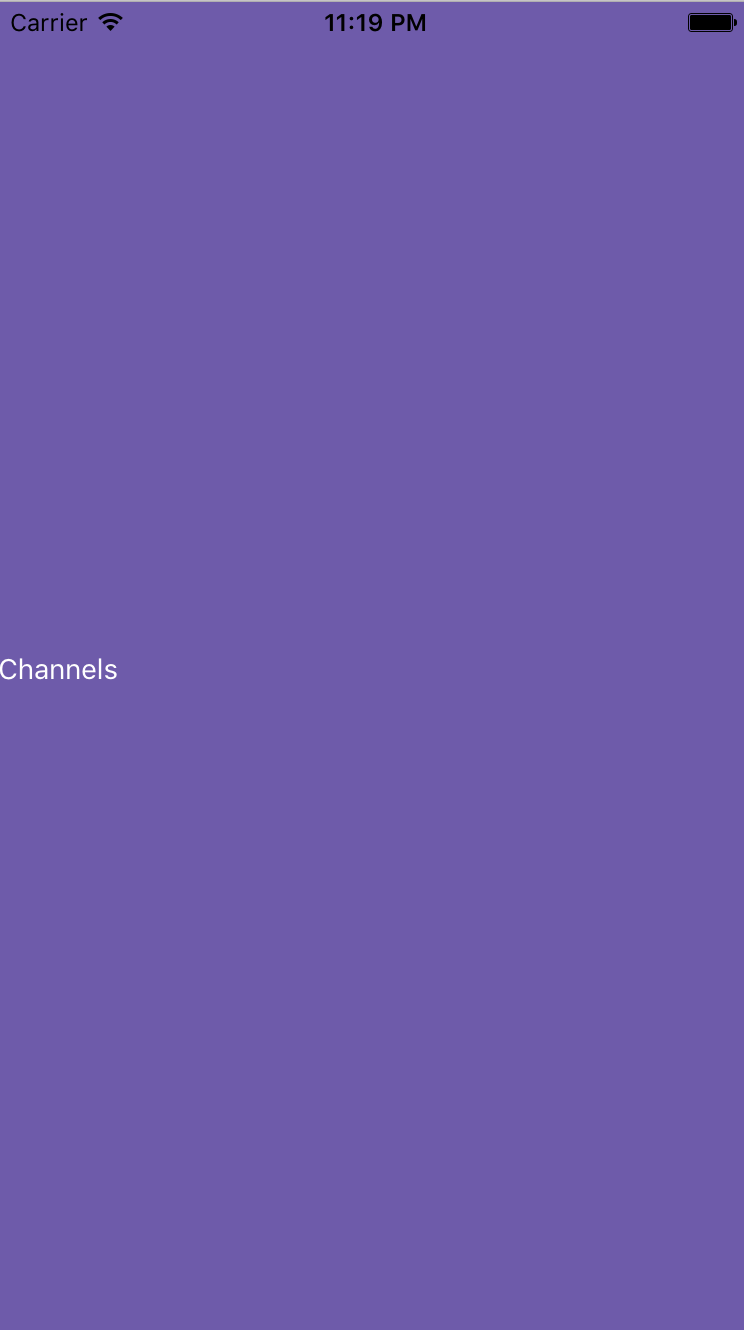
3-2) Getting the Channel List
We’ll use a function within the JavaScript SDK to get the list of channels and display it to the screen we’ve just created. Edit the channels.js as follows. This time, it’s a pretty long code, so try to read through it to understand how it works:
var React = require('react-native');
var {
  View,
  Text,
  Image,
  TextInput,
  ListView,
  TouchableHighlight,
  StyleSheet
} = React;
var sendbird = require(‘sendbird’);
var PULLDOWN_DISTANCE = 40;
module.exports = React.createClass({
getInitialState: function() {
var ds = new ListView.DataSource({rowHasChanged: (r1, r2) => r1 !== r2});
return {
channelList: [],
dataSource: ds.cloneWithRows([]),
page: 0,
next: 0,
channelName: ”
};
},
componentWillMount: function() {
this.getChannelList(1);
},
render: function() {
return (
<View style={styles.container}>
<View style={styles.listContainer}>
<ListView
dataSource={this.state.dataSource}
renderRow={(rowData) =>
<TouchableHighlight onPress={() => this.onChannelPress(rowData.channel_url)}>
<View style={styles.listItem}>
<View style={styles.listIcon}>
<Image style={styles.channelIcon} source={{uri: rowData.cover_img_url}} />
</View>
<View style={styles.listInfo}>
<Text style={styles.titleLabel}># {rowData.name}</Text>
<Text style={styles.memberLabel}>{rowData.member_count} members</Text>
</View>
</View>
</TouchableHighlight>
}
onEndReached={() => this.getChannelList(this.state.next)}
onEndReachedThreshold={PULLDOWN_DISTANCE}
/>
</View>
</View>
);
},
onChannelPress: function(url) {
console.log(url);
},
getChannelList: function(page) {
if (page == 0) {
return;
}
sendbird.getChannelList({
page: page,
limit: 20,
successFunc : (data) => {
this.setState({channelList: this.state.channelList.concat(data.channels)}, () => {
this.setState({
dataSource: this.state.dataSource.cloneWithRows(this.state.channelList),
page: data.page,
next: data.next
});
});
},
errorFunc: (status, error) => {
console.log(status, error);
}
});
}
});
var styles = StyleSheet.create({
container: {
flex: 1,
justifyContent: ‘center’,
alignItems: ‘stretch’,
backgroundColor: ‘#ffffff’
},
listContainer: {
flex: 11,
justifyContent: ‘center’,
alignItems: ‘stretch’,
marginTop: 10
},
listItem: {
flex: 1,
flexDirection: ‘row’,
justifyContent: ‘center’,
alignItems: ‘center’,
backgroundColor: ‘#f7f8fc’,
borderBottomWidth: 0.5,
borderColor: ‘#D0DBE4’,
padding: 5
},
listIcon: {
justifyContent: ‘flex-start’,
paddingLeft: 10,
paddingRight: 15
},
channelIcon: {
width: 30,
height: 30
},
listInfo: {
flex: 1,
justifyContent: ‘flex-start’
},
titleLabel: {
fontSize: 15,
fontWeight: ‘600’,
color: ‘#60768b’,
},
memberLabel: {
fontSize: 13,
fontWeight: ‘400’,
color: ‘#abb8c4’,
}
});
You can see that the list of channels appear on your screen when you refresh it. When you scroll to the bottom of the list, getChannelList function will be called by onEndReached and the next page of the channel list will be retrieved. When you click on the channel, you can see the output of the channel’s URL.
You will see an output screen like the following if everything works correctly: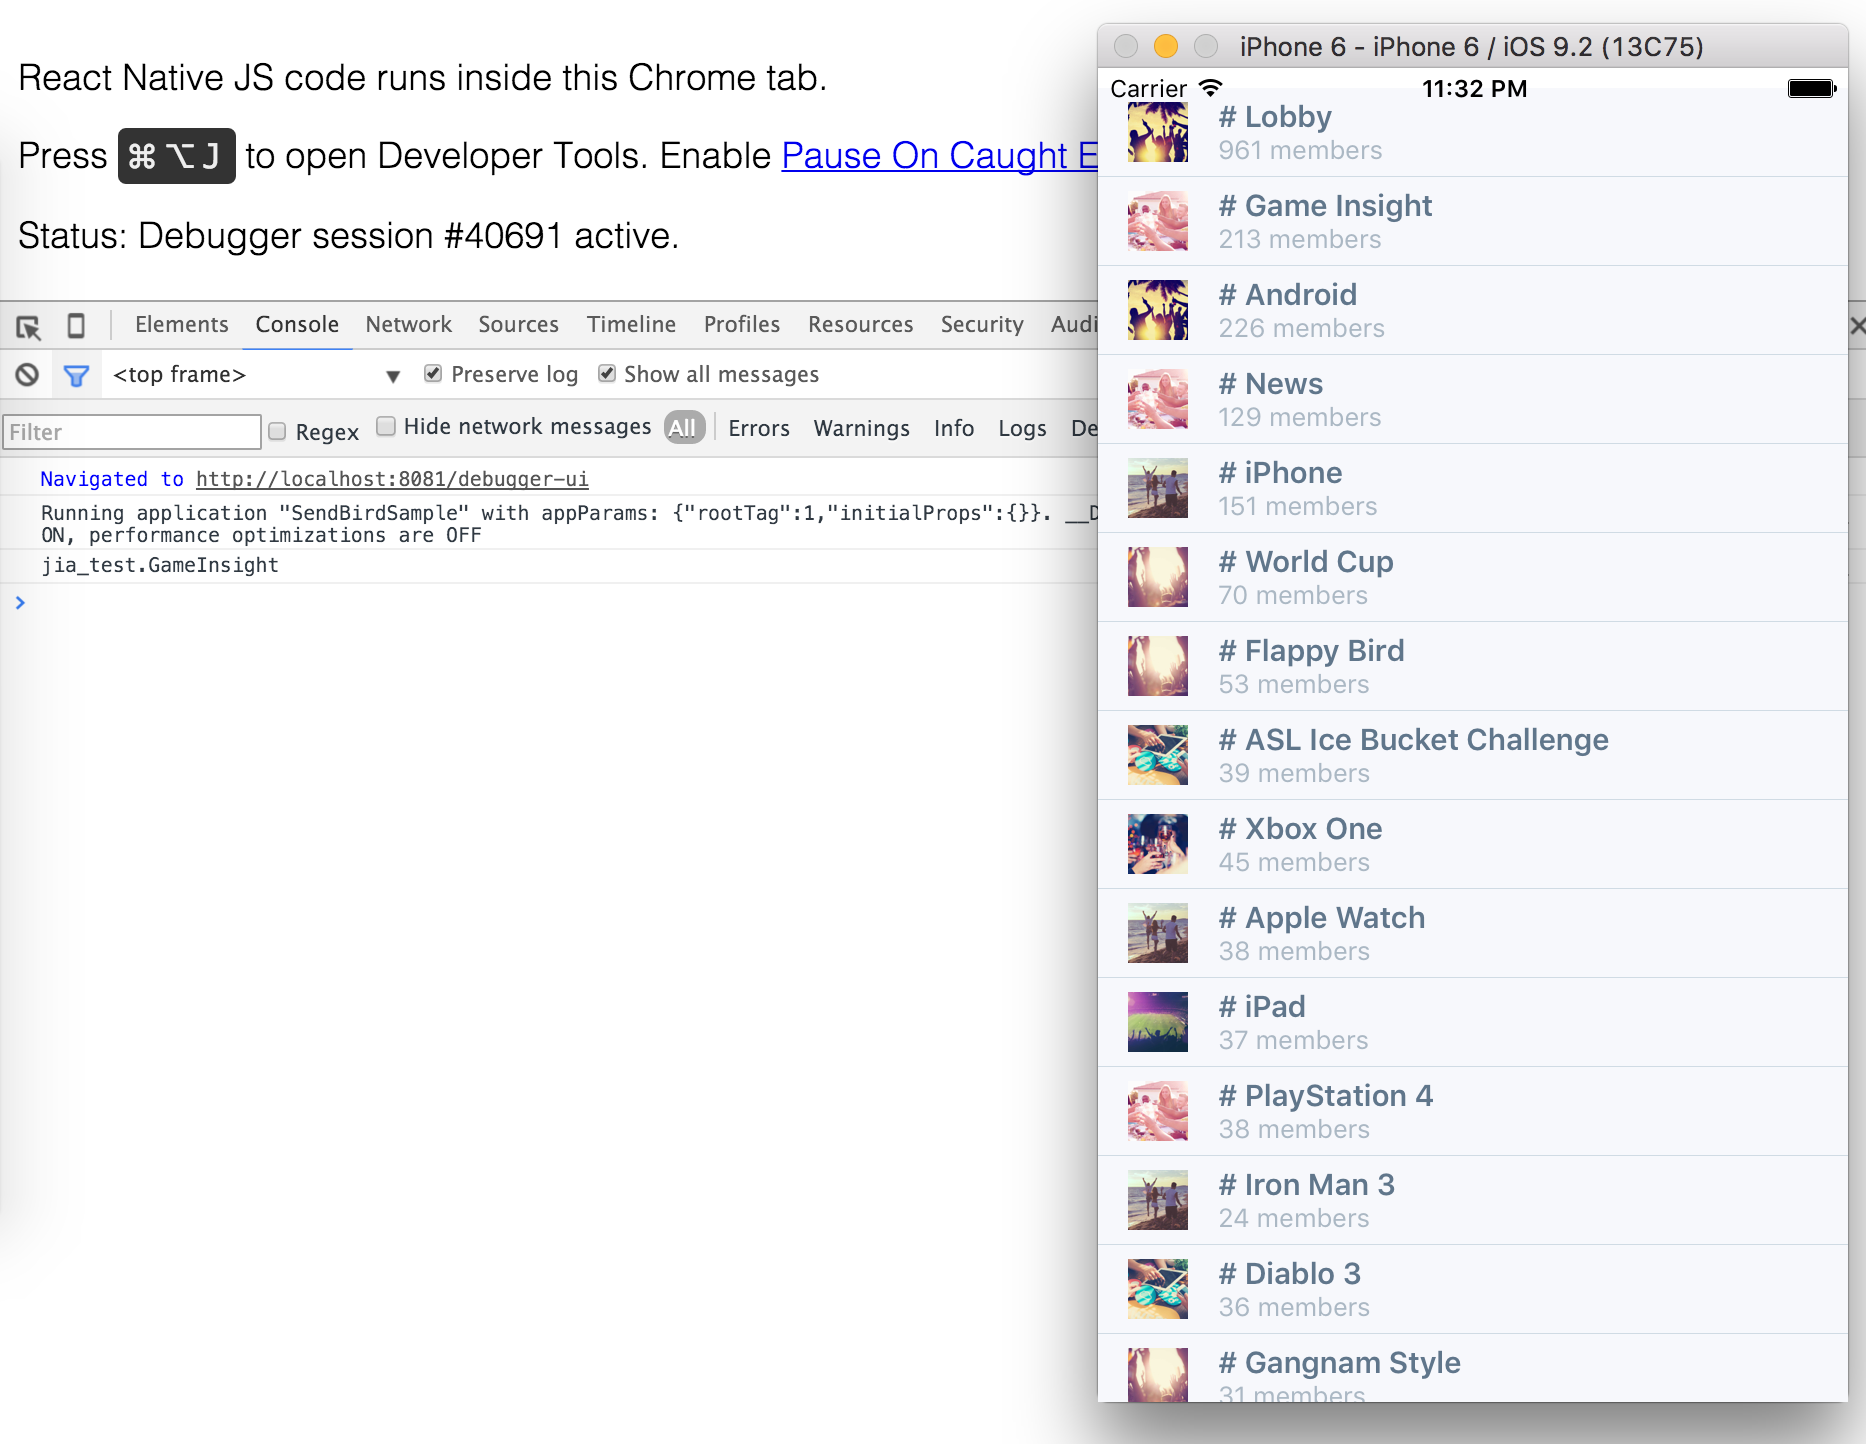
3-3) Entering a Channel
To see if we are indeed entering a channel correctly, let’s edit onChannelPress function within channels.js to retrieve the channel information as follows:
onChannelPress: function(url) {
  sendbird.joinChannel(
    url,
    {
      successFunc: (data) => {
        sendbird.connect({
          successFunc: (data) => {
            sendbird.getChannelInfo((channel) => {
              console.log(channel);
            });
          },
          errorFunc: (status, error) => {
            console.log(status, error);
          }
        });
      },
      errorFunc: (status, error) => {
        console.log(status, error);
      }
    }
  );
},
Using the console window, you can see the object returned when you click on one of the channels. We’re in! 🙂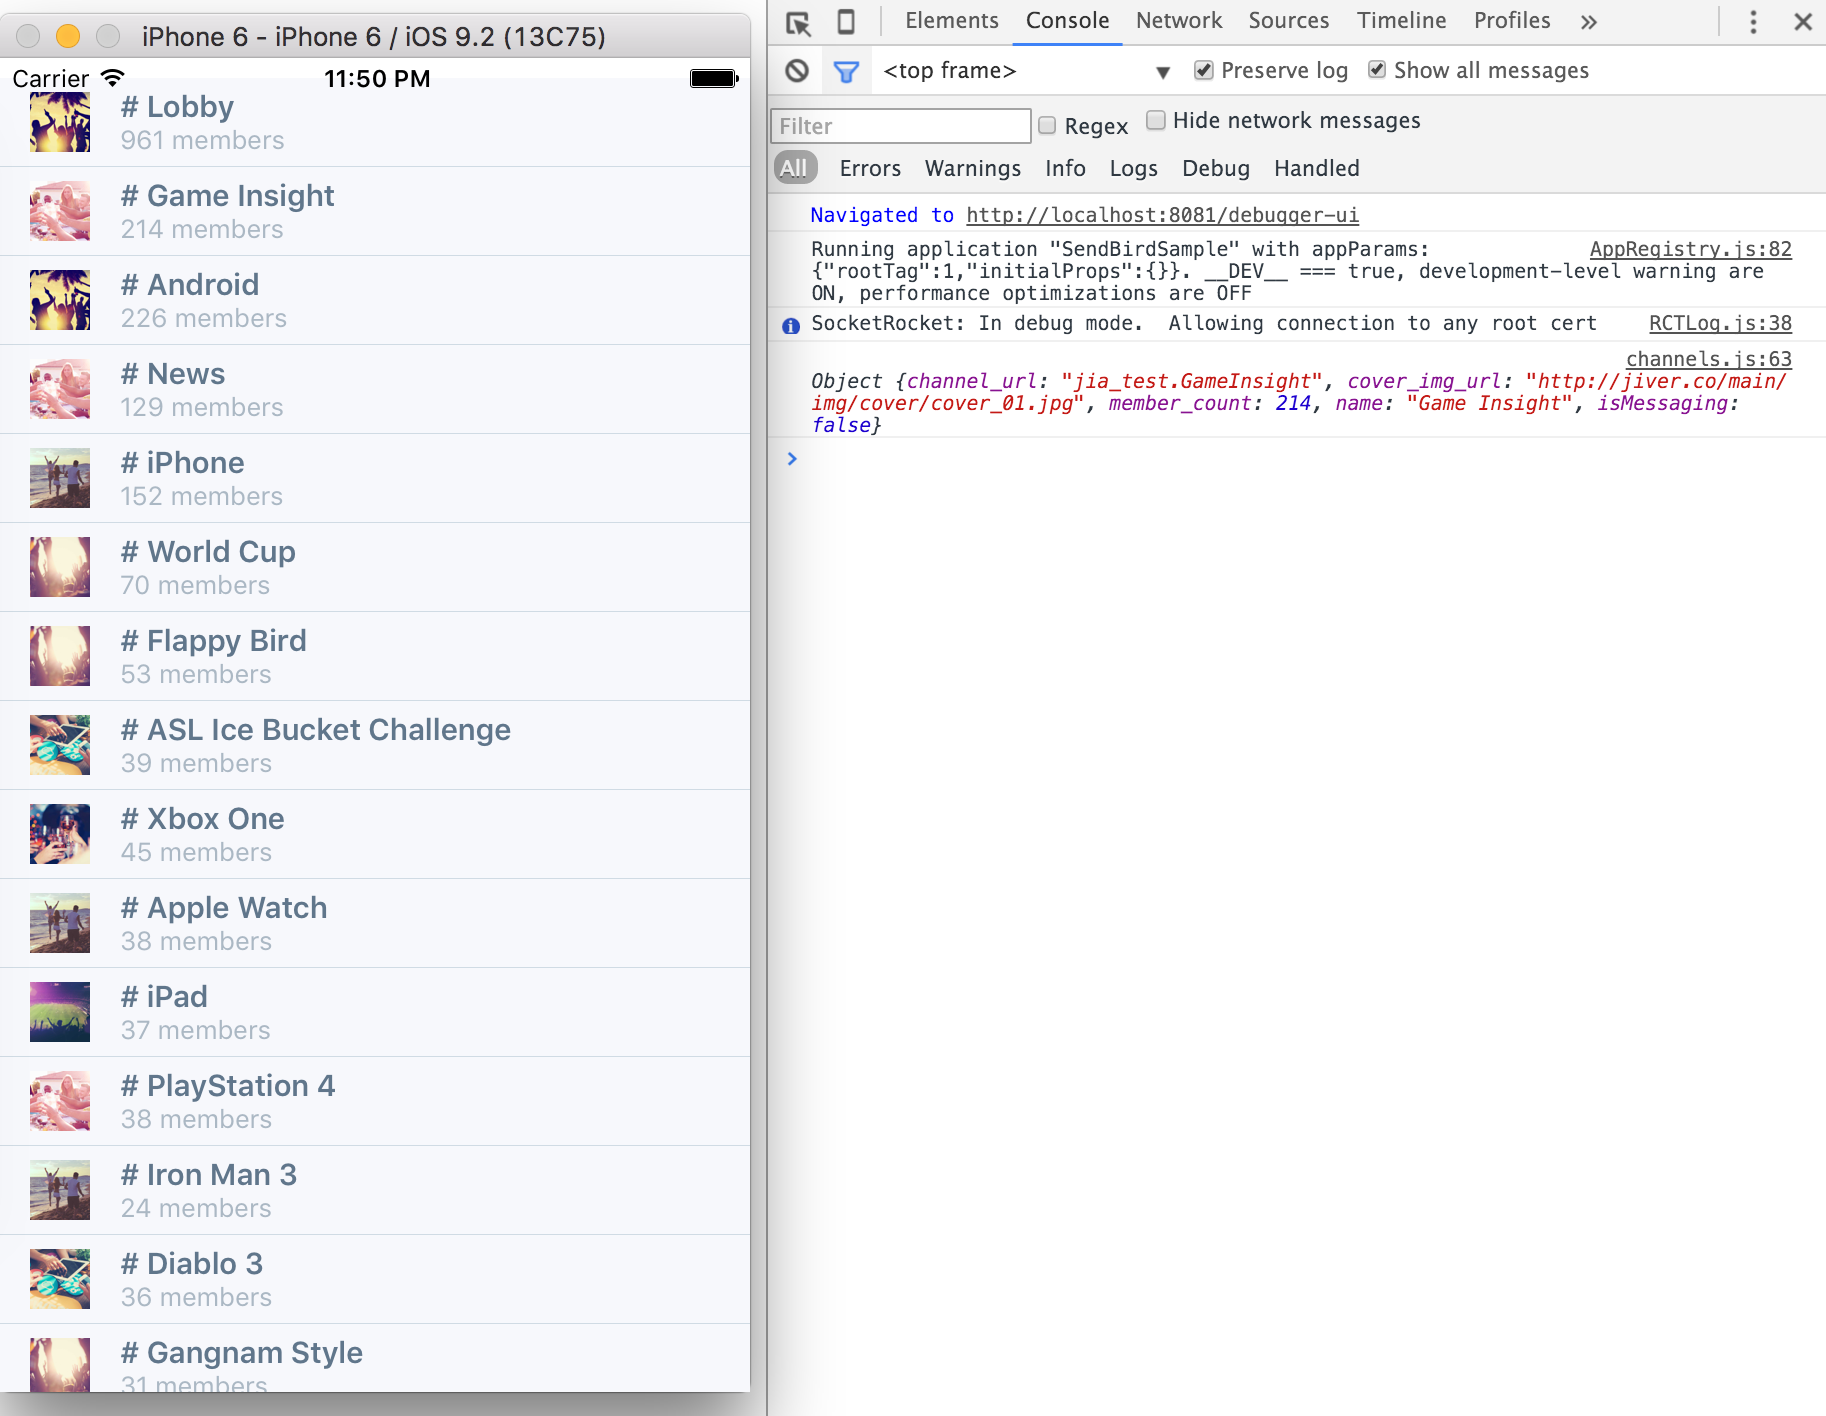
4) The Messaging Feature
Now for the main dish, we’re going to create our chat screen. We’ll be creating a simple, text-based chat screen like good ol’ IRC to see if this thing really works. Feel free to customize it to your liking!
4-1) The Screen
Create chat.js within the src/components/ folder and edit as follows. This creates a raw screen like the ones we did above:
var React = require('react-native');
var {
  View,
  Text,
  StyleSheet
} = React;
var sendbird = require(‘sendbird’);
module.exports = React.createClass({
render: function() {
return (
<View style={styles.container}>
<Text style={{color: ‘#fff’}}>Chat</Text>
</View>
);
}
});
var styles = StyleSheet.create({
container: {
flex: 1,
justifyContent: ‘center’,
alignItems: ‘stretch’,
backgroundColor: ‘#6E5BAA’
}
});
Again, let’s add chat to the ROUTES within main.js file:
var Login = require('./components/login');
var Channels = require('./components/channels');
var Chat = require('./components/chat');
var ROUTES = {
login: Login,
channels: Channels,
chat: Chat
};
We want to display the chat window when we click on one of the channels, so we’ll edit onChannelPress function within the channels.js file as follows:
onChannelPress: function(url) {
  sendbird.joinChannel(
    url,
    {
      successFunc: (data) => {
        sendbird.connect({
          successFunc: (data) => {
            sendbird.getChannelInfo((channel) => {
              this.props.navigator.push({ name: 'chat' });
            });
          },
          errorFunc: (status, error) => {
            console.log(status, error);
          }
        });
      },
      errorFunc: (status, error) => {
        console.log(status, error);
      }
    }
  );
}
Now when you click on a channel, you will see the empty chat window get displayed:

4-2) The Inputs and The Back Button
We’re almost there! To make it easier to go back and forth between the chat window and the channel list, we’ll implement the back button and an input field for sending chat messages.
Edit the chat.js file as follows:
...
module.exports = React.createClass({
render: function() {
return (
<View style={styles.container}>
<View style={styles.topContainer}>
<TouchableHighlight
underlayColor={'#4e4273'}
onPress={this.onBackPress}
style={{marginLeft: 15}}
>
<Text style={{color: '#fff'}}>< Back</Text>
</TouchableHighlight>
</View>
<View style={styles.chatContainer}>
<Text style={{color: '#000'}}>Chat</Text>
</View>
<View style={styles.inputContainer}>
<Text style={{color: '#000'}}>Input</Text>
</View>
</View>
);
},
onBackPress: function() {
this.props.navigator.pop();
}
});
var styles = StyleSheet.create({
container: {
flex: 1,
justifyContent: ‘center’,
alignItems: ‘stretch’,
backgroundColor: ‘#ffffff’
},
topContainer: {
flex: 1,
flexDirection: ‘row’,
justifyContent: ‘flex-start’,
alignItems: ‘center’,
backgroundColor: ‘#6E5BAA’,
paddingTop: 20,
},
chatContainer: {
flex: 11,
justifyContent: ‘center’,
alignItems: ‘stretch’
},
inputContainer: {
flex: 1,
justifyContent: ‘center’,
alignItems: ‘stretch’
}
});
When you hit the ‘< Back’ button at the top left corner, this.props.navigator.pop() will make the current screen ‘pop’ and display the channel list screen hidden underneath.
The chat window will look like this: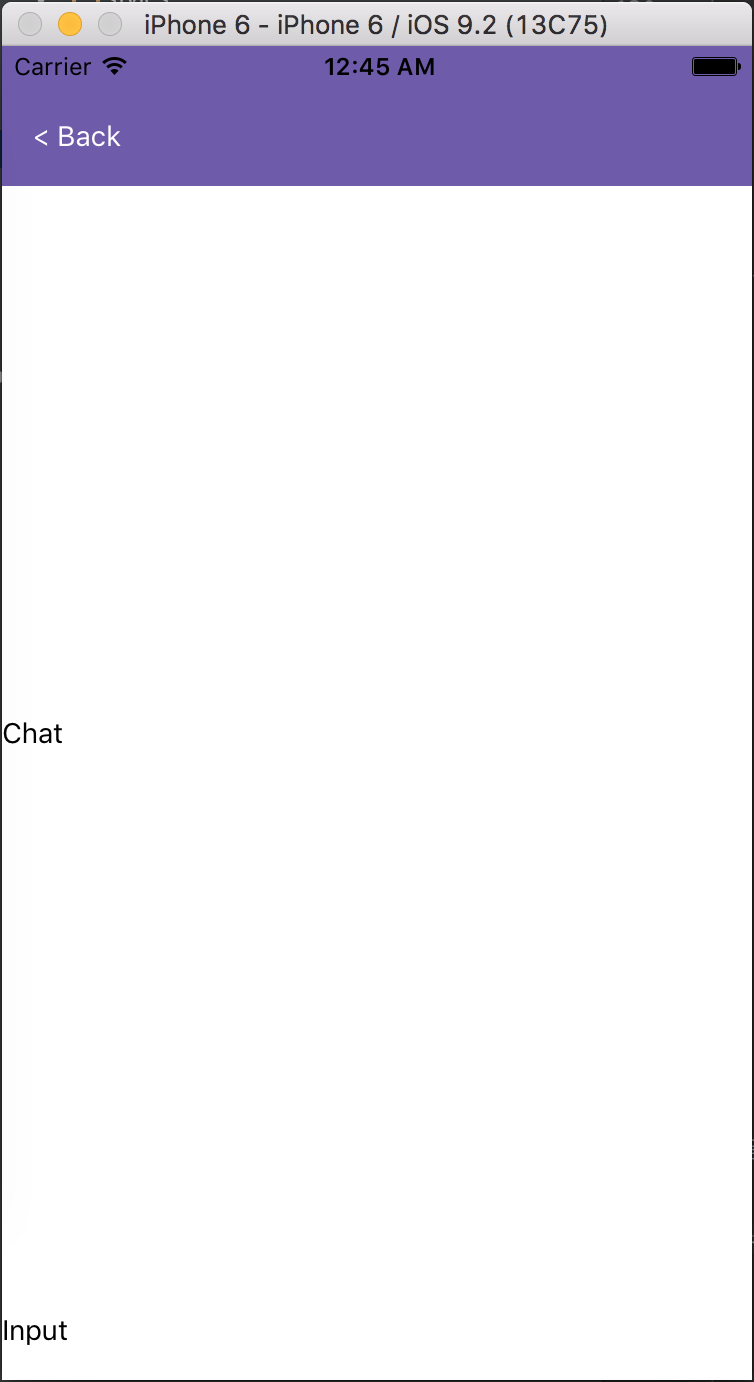
To start sending messages, we need to create the input text field and the ‘SEND’ button:
var React = require('react-native');
var {
  View,
  Text,
  TouchableHighlight,
  TextInput,
  Dimensions,
  StyleSheet
} = React;
var sendbird = require(‘sendbird’);
var windowSize = Dimensions.get(‘window’);
module.exports = React.createClass({
getInitialState: function() {
return {
message: ”
};
},
render: function() {
return (
<View style={styles.container}>
<View style={styles.topContainer}>
<TouchableHighlight
underlayColor={‘#4e4273’}
onPress={this.onBackPress}
style={{marginLeft: 15}}
>
<Text style={{color: ‘#fff’}}>< Back</Text>
</TouchableHighlight>
</View>
<View style={styles.chatContainer}>
<Text style={{color: ‘#000’}}>Chat</Text>
</View>
<View style={styles.inputContainer}>
<View style={styles.textContainer}>
<TextInput
style={styles.input}
value={this.state.message}
onChangeText={(text) => this.setState({message: text})}
/>
</View>
<View style={styles.sendContainer}>
<TouchableHighlight
underlayColor={‘#4e4273’}
onPress={() => this.onSendPress()}
>
<Text style={styles.sendLabel}>SEND</Text>
</TouchableHighlight>
</View>
</View>
</View>
);
},
onBackPress: function() {
this.props.navigator.pop();
},
onSendPress: function() {
console.log(this.state.message);
this.setState({message: ”});
}
});
var styles = StyleSheet.create({
container: {
flex: 1,
justifyContent: ‘center’,
alignItems: ‘stretch’,
backgroundColor: ‘#ffffff’
},
topContainer: {
flex: 1,
flexDirection: ‘row’,
justifyContent: ‘flex-start’,
alignItems: ‘center’,
backgroundColor: ‘#6E5BAA’,
paddingTop: 20,
},
chatContainer: {
flex: 11,
justifyContent: ‘center’,
alignItems: ‘stretch’
},
inputContainer: {
flex: 1,
flexDirection: ‘row’,
justifyContent: ‘space-around’,
alignItems: ‘center’,
backgroundColor: ‘#6E5BAA’
},
textContainer: {
flex: 1,
justifyContent: ‘center’
},
sendContainer: {
justifyContent: ‘flex-end’,
paddingRight: 10
},
sendLabel: {
color: ‘#ffffff’,
fontSize: 15
},
input: {
width: windowSize.width – 70,
color: ‘#555555’,
paddingRight: 10,
paddingLeft: 10,
paddingTop: 5,
height: 32,
borderColor: ‘#6E5BAA’,
borderWidth: 1,
borderRadius: 2,
alignSelf: ‘center’,
backgroundColor: ‘#ffffff’
},
});
Now when you type in some messages and hit ‘SEND,’ you can see your message output: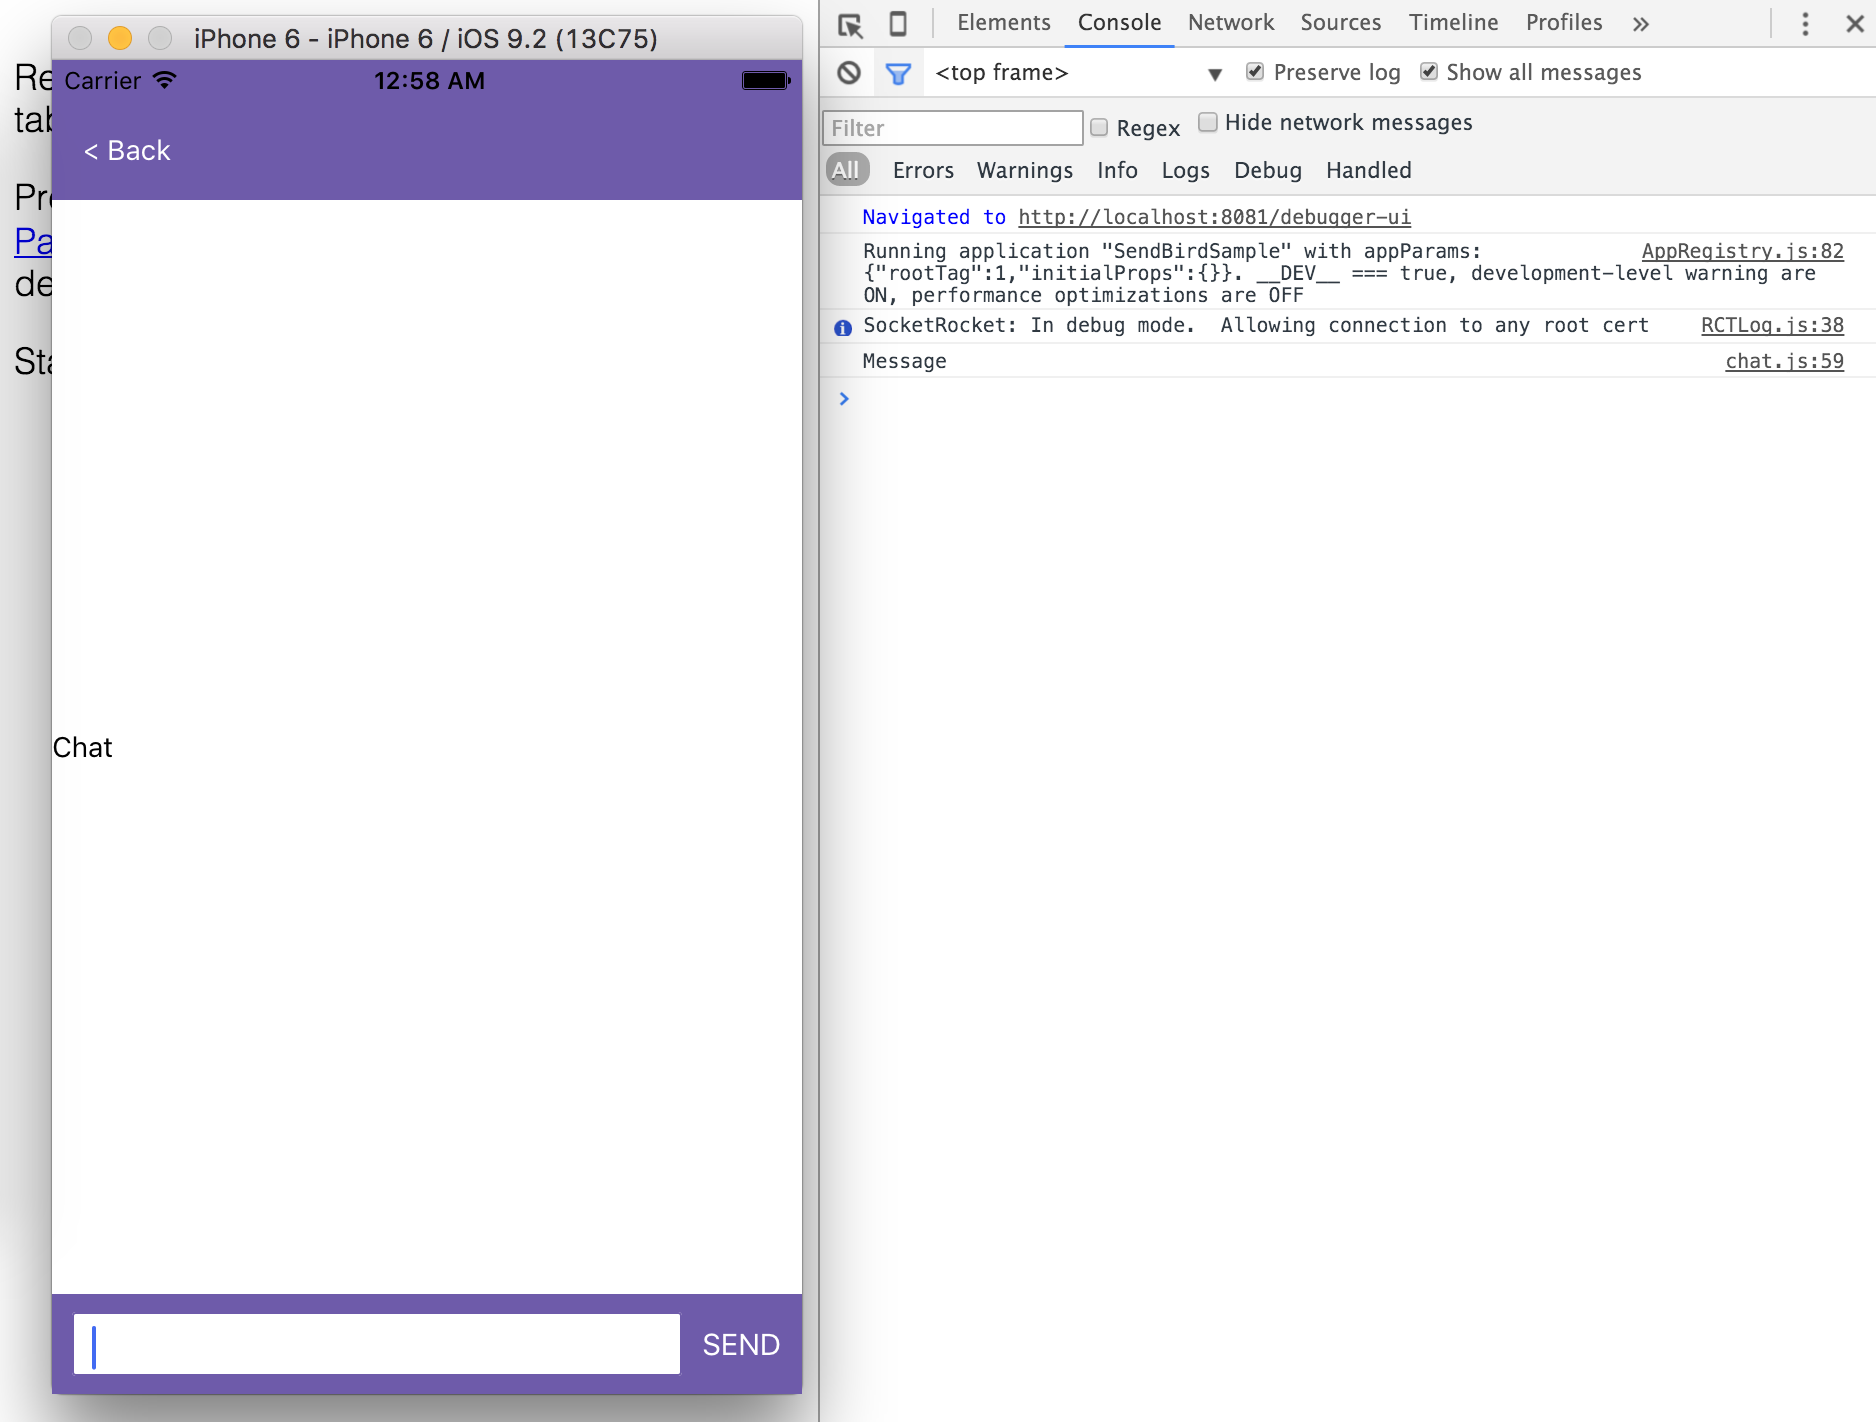
We’ve also used Dimensions API here to get the size of the window.
4-3) Sending and Receiving Messages
Last but not least, we’ll create the ability to send and receive messages. The default app_id used for this tutorial is also used by our sample website so you can use this site to see if your message is being transferred correctly. You can also download and install the sample website on your end to test it out as well.
Let’s edit the getInitialStateas to give it a fresh start:
getInitialState: function() {
  return {
    message: '',
    messageList: []
  };
},
then add componentWillMount to handle onMessageReceived:
componentWillMount: function() {
  sendbird.events.onMessageReceived = (obj) => {
    this.setState({messageList: this.state.messageList.concat([obj])});
  };
  this.getMessages();
},
We’ll edit getMessagesfunction to to retrieve the messages and add them to the message list:
getMessages: function() {
  sendbird.getMessageLoadMore({
    limit: 100,
    successFunc: (data) => {
      var _messageList = [];
      data.messages.reverse().forEach(function(msg, index){
        if(sendbird.isMessage(msg.cmd)) {
          _messageList.push(msg.payload);
        }
      });
      this.setState({ messageList: _messageList.concat(this.state.messageList) });
    },
    errorFunc: (status, error) => {
      console.log(status, error);
    }
  });
}
The onSendPress function will send a message to SendBird:
onSendPress: function() {
  sendbird.message(this.state.message);
  this.setState({message: ''});
},
The onBackPress function will ‘pop’ you back to the channel list and disconnect you from the SendBird chatroom:
onBackPress: function() {
  sendbird.disconnect();
  this.props.navigator.pop();
},
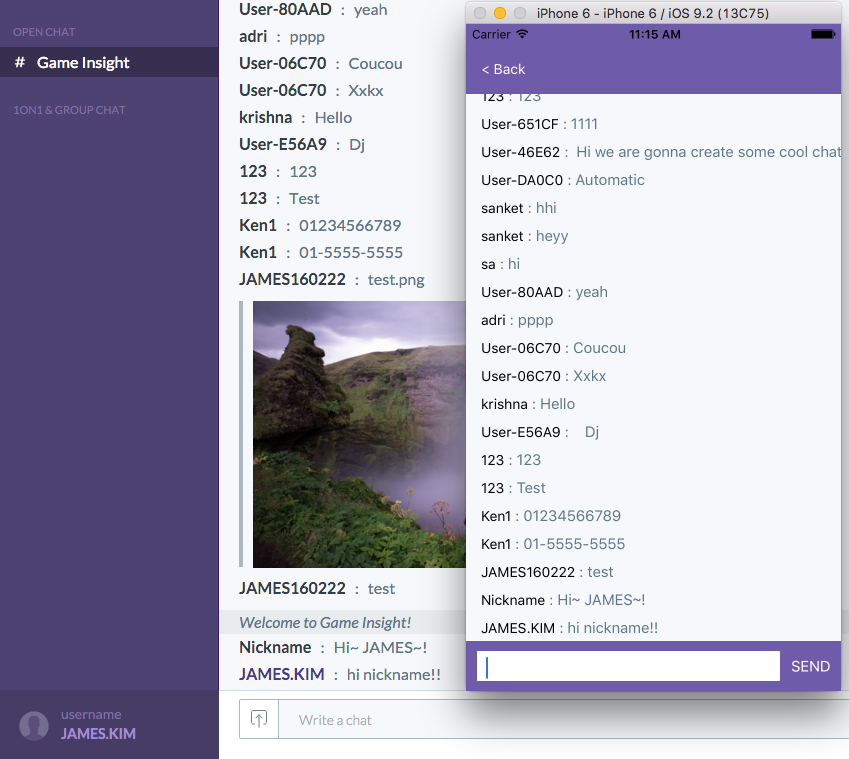
The render function will display the message list into rows of messages with user nicknames:
render: function() {
  var list = this.state.messageList.map((item, index) => {
    return (
      <View
        style={styles.messageContainer}
        key={index}
        >
        <Text style={this.nameLabel}>
          {item.user.name}
          <Text style={styles.messageLabel}> : {item.message}</Text>
        </Text>
      </View>
    );
  });
return (
<View style={styles.container}>
<View style={styles.topContainer}>
<TouchableHighlight
underlayColor={‘#4e4273’}
onPress={this.onBackPress}
style={{marginLeft: 15}}
>
<Text style={{color: ‘#fff’}}>< Back</Text>
</TouchableHighlight>
</View>
<View style={styles.chatContainer}>
<ScrollView
ref={(c) => this._scrollView = c}
onScroll={this.handleScroll}
scrollEventThrottle={16}
onContentSizeChange={(e) => {}}
>
{list}
</ScrollView>
</View>
<View style={styles.inputContainer}>
<View style={styles.textContainer}>
<TextInput
style={styles.input}
value={this.state.message}
onChangeText={(text) => this.setState({message: text})}
/>
</View>
<View style={styles.sendContainer}>
<TouchableHighlight
underlayColor={‘#4e4273’}
onPress={() => this.onSendPress()}
>
<Text style={styles.sendLabel}>SEND</Text>
</TouchableHighlight>
</View>
</View>
</View>
);
},
Lastly, to connect to the right channel on SendBird, we’ll edit onChannelPress within channels.js as follows:
onChannelPress: function(url) {
  sendbird.joinChannel(
    url,
    {
      successFunc: (data) => {
        sendbird.connect({
          successFunc: (data) => {
            sendbird.getChannelInfo((channel) => {
              sendbird.connect({
                successFunc: (data) => { this.props.navigator.push({ name: 'chat' }); },
                errorFunc: (status, error) => { console.log(status, error); }
              });
            });
          },
          errorFunc: (status, error) => {
            console.log(status, error);
          }
        });
      },
      errorFunc: (status, error) => {
        console.log(status, error);
      }
    }
  );
},
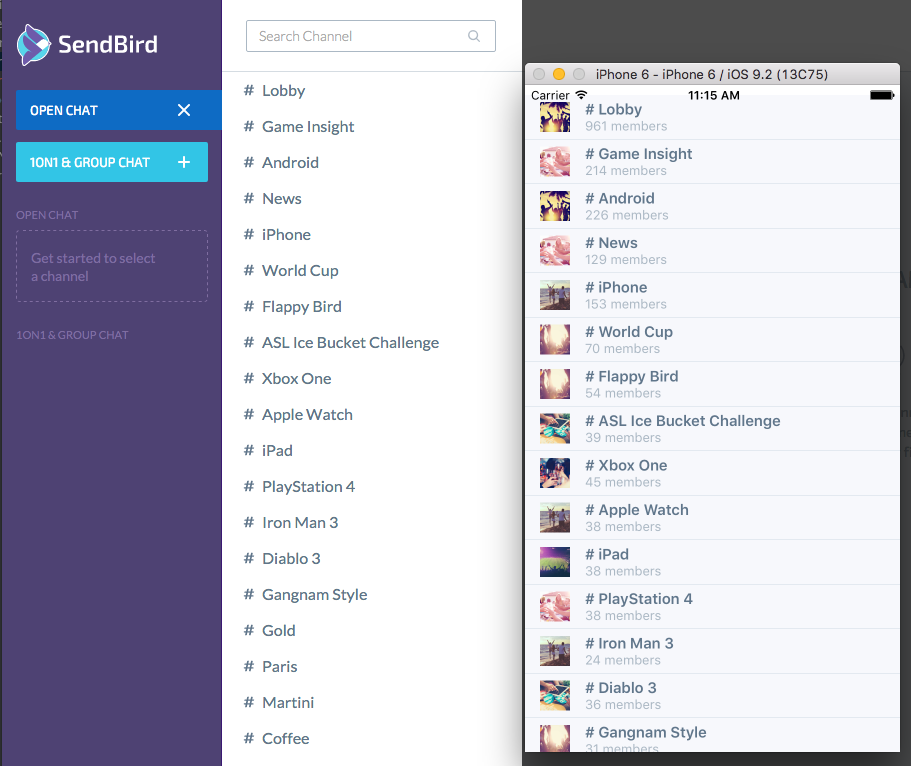
If you are using the default app_id, you can connect to our sample website and see if your React Native’ app indeed sends the messages correctly.
So that’s a wrap! There are many more features in JavaScript SDK that has not been covered in this tutorial, so feel free to check out the documentation to build an even more advanced messaging app.
There’s a lot more to learn about React Native, but it is beyond the scope of this tutorial. Hopefully, you got a taste of what React Native can do using SendBird JavaScript SDK. Please take a look at React Native’s official documentation to build even more amazing apps.
If you have any questions regarding this tutorial or using SendBird in general, please drop us a note here.
Thanks! 🙂
Get Started!
1,000 MAU and 25 connections free forever