Get Started!
1,000 MAU and 25 connections free forever

This article implements a user interface for an iOS messaging app and develops the features to support messaging with SendBird.
Since Apple announced the new UI for iPhone X and iOS 11 at the last WWDC 2017, this tutorial will discuss how you can implement the new UI elements.
Start an Xcode Project
Create a new Xcode Project
To start a new project, run Xcode and select File > New > Project.
In the Choose a template for your new project dialog, select the iOS tab. Then select Single View App. Click Next.
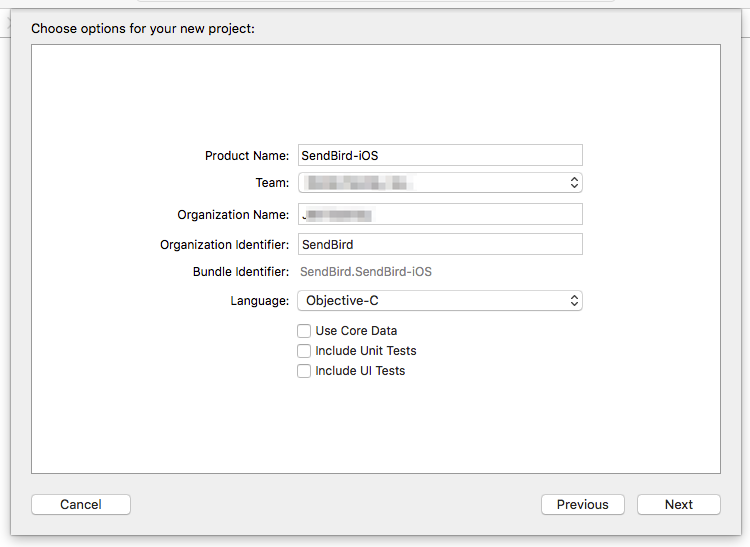
In the Choose options for your new project dialog, fill in the text fields with your information and click Next.
Select a folder where you’d like to create the project and click Create.
Check out our sample code at any time.
Install SendBird Framework via CocoaPods
You can install the SendBird framework through both CocoaPods and Carthage. This article explains how to install the SendBird framework via CocoaPods.
Install CocoaPods
To install CocoaPods, visit CocoaPods and follow the installation guides.
Install the SendBird framework
If you’ve already opened the Xcode project, then close the project first.
Open terminal, and go to the the project directory. To create the initial Podfile, run pod init.
$ pod init
To install the SendBird framework, edit Podfile.
$ vi Podfile
To turn on the required options, uncomment these lines:
# platform: ios, '9.0'# use_frameworks!
Add the line for the SendBird framework:
pod 'SendBirdSDK'
To install the SendBird framework, run pod install.
$ pod install
Open .xcworkspace file on Xcode.
$ open SendBird-iOS.xcworkspace
Create a SendBird Application on the Dashboard
First of all, you have to create an application on the SendBird dashboard. To do so, visit the SendBird dashboard.
Sign up to create an account for the dashboard.
After signing up, follow the initial setup process. Once you finish it, you can view your new application in the Dashboard overview.
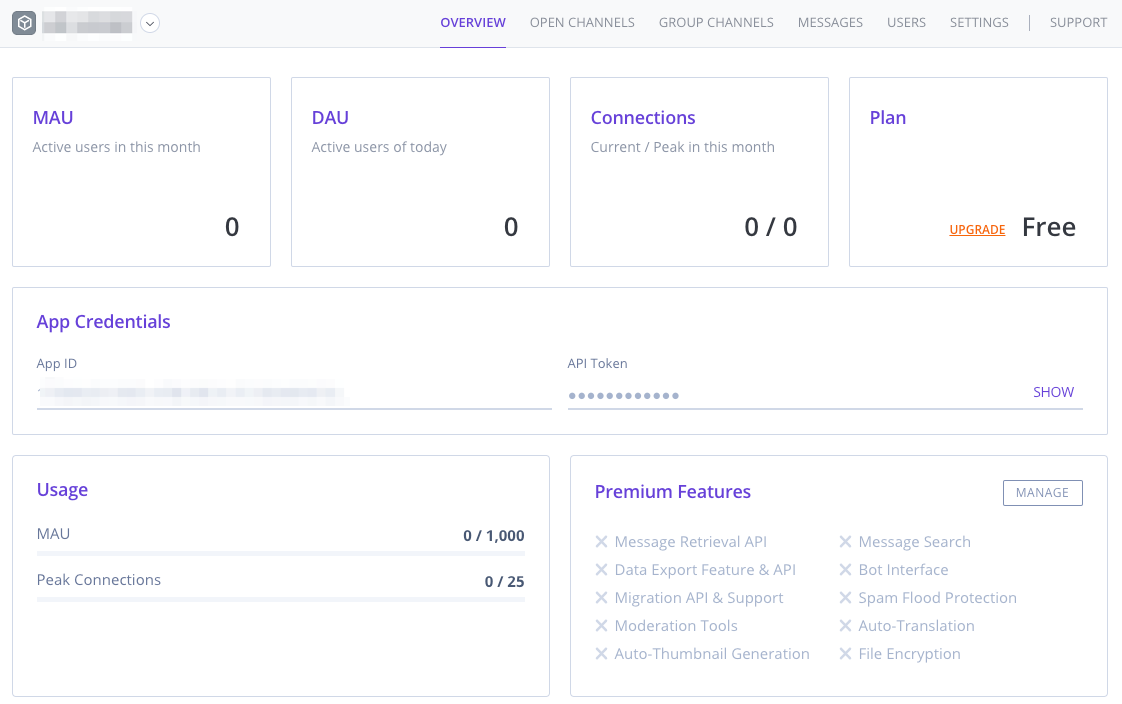
The client uses the App ID in the App Credentials to identify your application. Your server uses the API Token to access the SendBird server.
Implement the LogIn View
Initialize SendBird SDK
Before doing anything with SendBird, you must initialize the SendBird SDK with the App ID that you can see on the dashboard. We recommend that you initialize the SendBird SDK in AppDelegate.m.
Import SendBirdSDK.h header file into AppDelegate.m and initialize the SDK in application:didFinishLaunchingWithOptions: method.
Implement a Login View with the default UI
Understanding the Login Procedure
A user who wants to chat with someone must get permission to access the SendBird server. If you want to release a production version with a more secure authentication, the user authentication server must be implemented. The authentication server has a user database and communicates with the SendBird Server via the Platform API of SendBird.
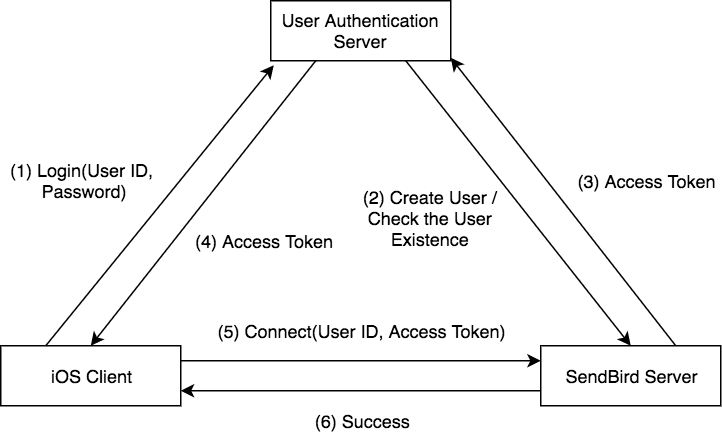
The above illustration explains the procedure to get permission from the user authentication server.
- The iOS Client logs into the User Authentication Server with the user ID and the password.
- The User Authentication Server (via Platform API) creates a user or checks if the user is on the SendBird Server..
- The SendBird Server returns the access token to the User Authentication Server.
- The User Authentication Server returns the access token to the iOS client.
- The iOS Client connects to the SendBird Server with the user ID and the access token.
- The SendBird Server returns the success.
Simplifying the Login Procedure
However, this article doesn’t cover the User Authentication Server. In order to imitate the login procedure and implement it easily, this tutorial omits the User Authentication Server.

SendBird allows users to connect without an access token according to the application setting on SendBird dashboard.
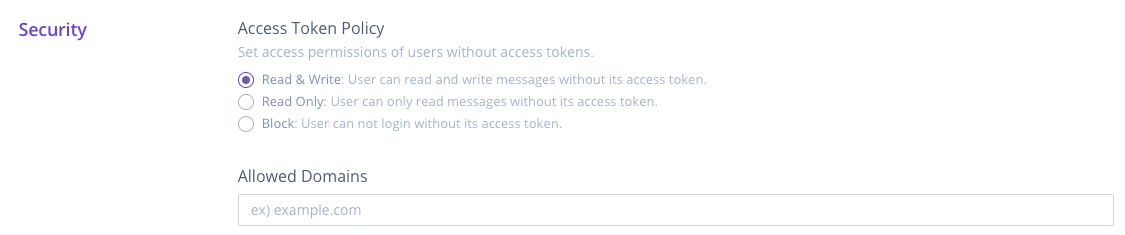
We use the “Read & Write” policy in this article.
Build a basic Login User Interface
The login user interface has two essential elements: (1) a text field to get the user ID and (2) a button to start connecting. There’s also a text field that accepts the user’s nickname so other users can identify that user. The user ID must be unique on the SendBird application, but the nickname need not.
Arrange the default UI elements vertically
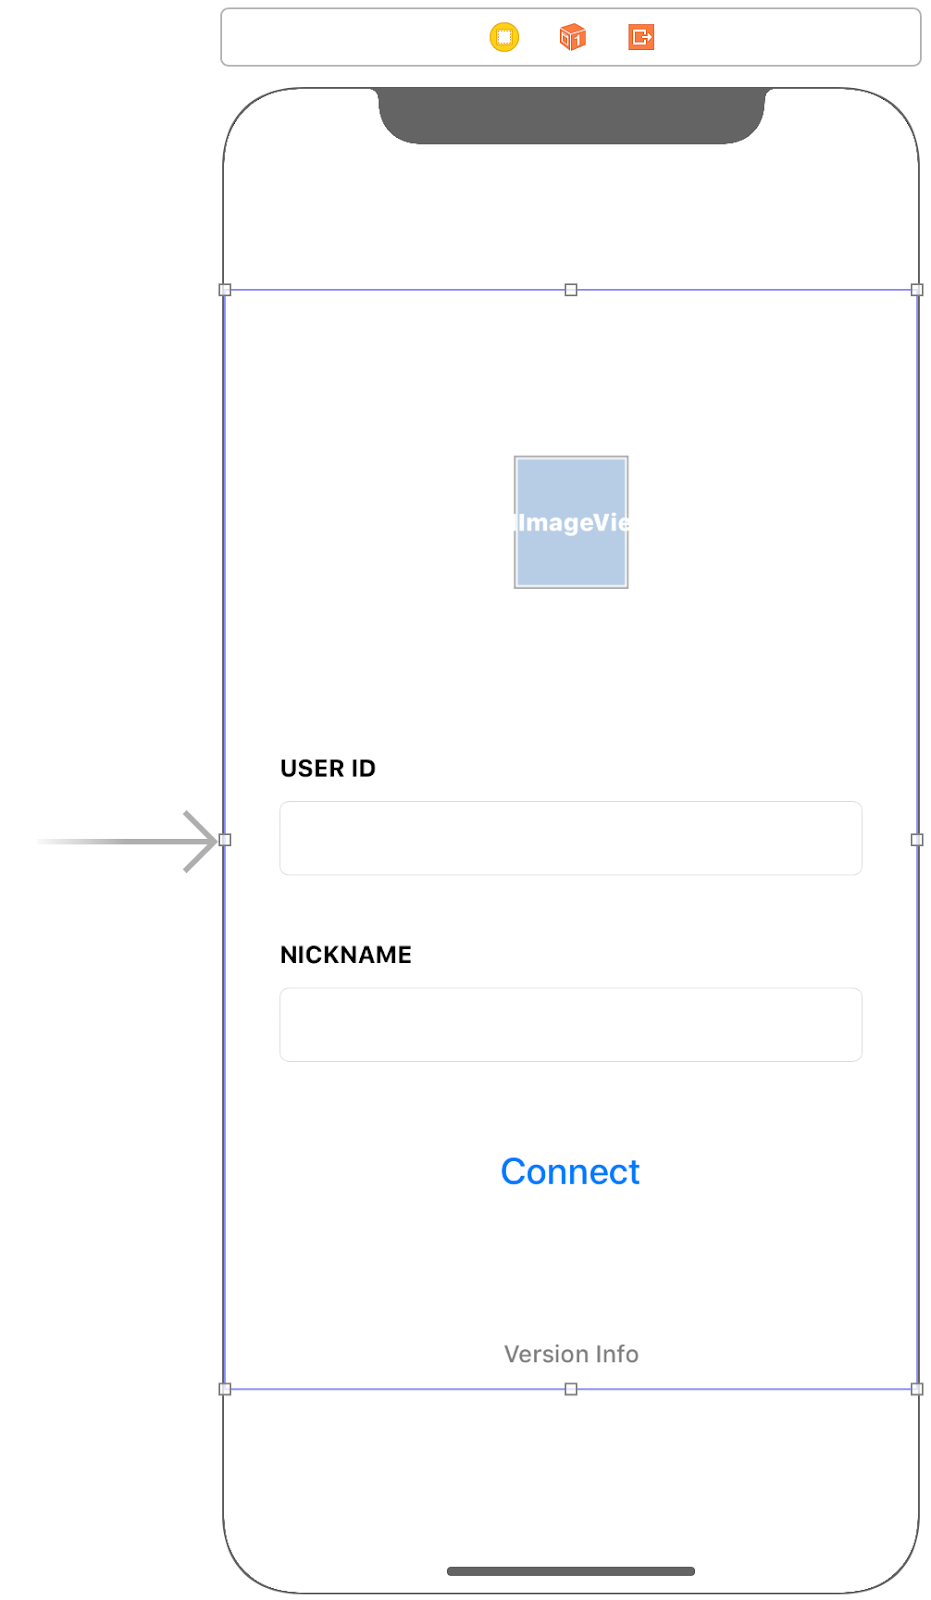
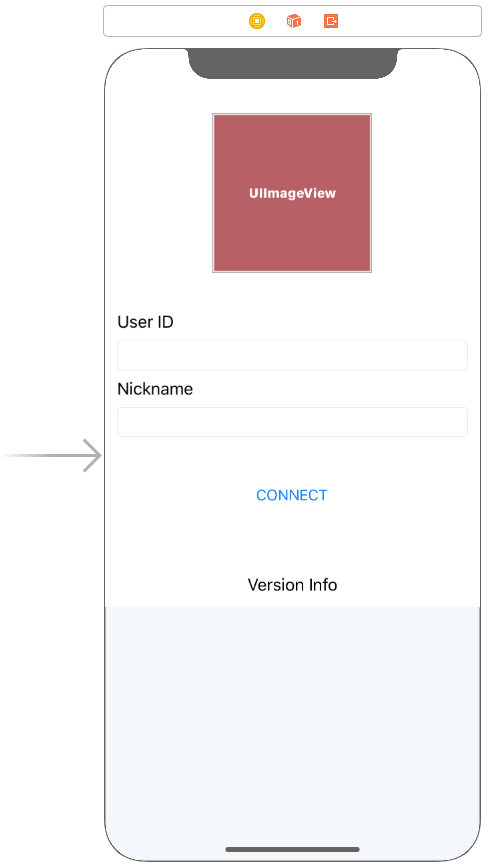
The login user interface will have the following elements:
- UIImageView for an app logo image.
- UILabel for “User ID” label.
- UITextField for entering the user ID.
- UILabel for “Nickname” label.
- UITextField for entering the nickname.
- UIButton for connection.
- UILabel for representing the current version.
Arrange every UI element vertically.
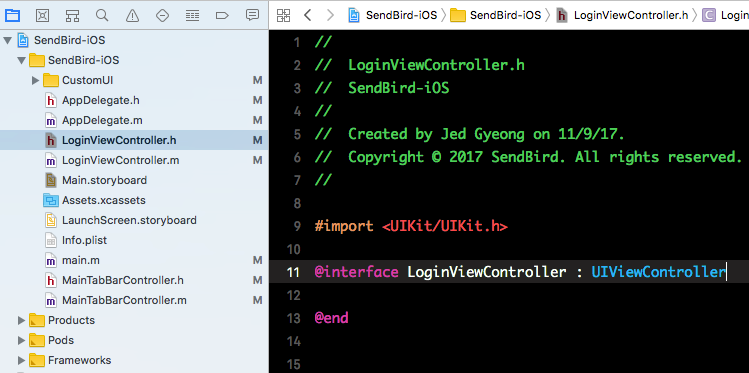
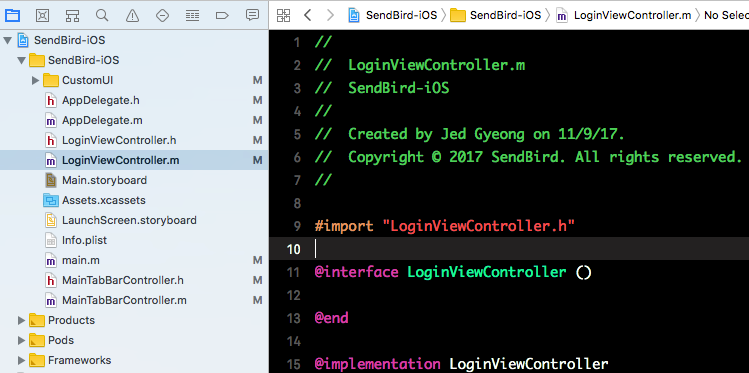
The current Xcode project has ViewController.h and ViewController.m. Change the filename to LoginViewController.
Select the Project Navigator of the left pane of Xcode and change ViewController.h and ViewController.m to LoginViewController.h and LoginViewController.m. Open LoginViewController.h and change the class name to LoginViewController. Next, open LoginViewController.m and change the class name and the imported .h file to LoginViewController.
Open the Main.storyboard file and change View Controller to Login View Controller.
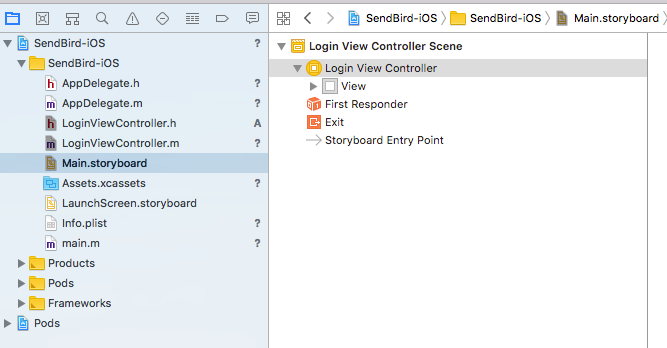
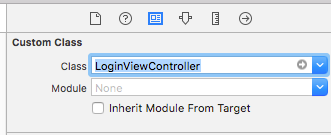
Select Login View Controller and click the identity inspector on the right pane. Change Class field to LoginViewController in the Custom Class section.
Add UIView under View as Content View. Arrange the UI elements on Content View vertically.
The iPhone X has rounded corners, a special status bar, and the home indicator. To avoid overlapping these elements and to support iPhone X, you must use Safe Area Layout Guide.
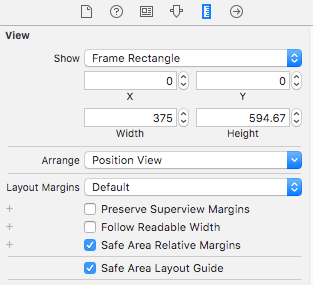
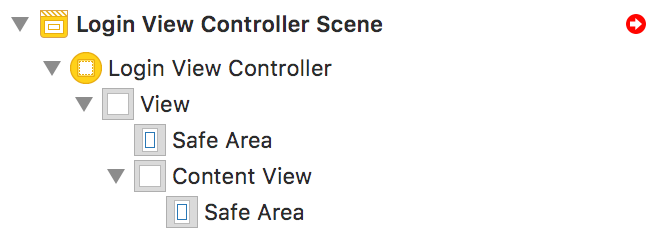
Basically, the top View has a Safe Area. If it doesn’t have the Safe Area, then select View and open the Size Inspector in the right pane. Turn on the Safe Area Layout Guide. Find Safe Area under the View on the view hierarchy.
Repeat these steps for the Content View.
Add top, bottom, leading, trailing, and center constraints between each view under Content View and the Safe Area in Content View.
To do this, select both the first view you want to constrain and Safe Area. Then click the Add New Alignment Constraints button under the preview pane. Select the appropriate Leading Edges, Trailing Edges, Top Edges, Bottom Edges, and Centers to create your content view. See below for an example.
Repeat this step for each view under Content View.
You can customize your Content View however you like. But it’s important to constrain every UI element with respect to the Safe Area.
How to adjust the size of the Scroll View when the keyboard appears
When a software keyboard appears, the keyboard might cover the text fields and obscure them. To avoid this, the Content View must be within UIScrollView. Label your UIScrollView as Scroll View and move the Content View into it.
You need to set several constraints for scrolling:
- The leading constraint between Scroll View and View
- The trailing constraint between Scroll View and View
- The trailing constraint between Scroll View and Content View
- The top constraint between Scroll View and View
- The top constraint between Scroll View and Content View
- The bottom constraint between Scroll View and View
- The bottom constraint between Scroll View and Content View
These constraints make the Content View scroll under the status bar and the home indicator of iPhone X.
How to adjust the bottom constraint when the app displays the keyboard
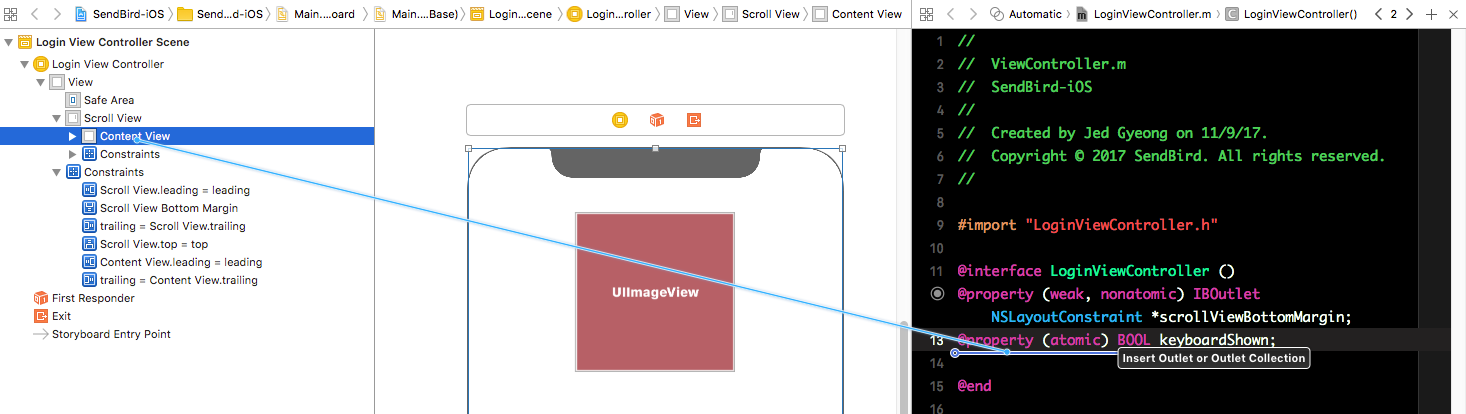
Open the Assistant Editor with Main.storyboard.
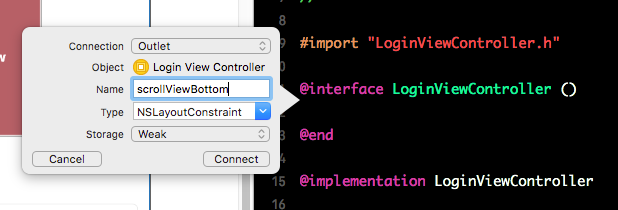
Select the bottom constraint between the Scroll View and the View and drag it to the @interface of the LoginViewController.m.

Connect the constraint to scrollViewBottom outlet.

This will create a new property.
To represent the keyboard’s state, add a boolean property and set the property’s default value to NO in the viewDidLoad method.
To detect when the keyboard state changes, add two observers to NSNotificationCenter. When the keyboard shows, keyboardWillShow: will be invoked. When the keyboard hides, keyboardWillHide: will be invoked.
Implement keyboardWillShow: and keyboardWillHide:. Each method will receive a keyboard size as a parameter. So, we’ll change the scollViewBottom constraint according the keyboard’s height. If you want to change the constraint of the UI, you must run it in the main thread.
To hide the keyboard, add a gesture to Content View. Open the Assistant Editor with Main.storyboard again. Select the Content View and drag it to the @interface of the LoginViewController.m.
Connect the constraint to the contentView outlet.
This will create a new property.
Add a tap gesture to the contentView in viewDidLoad. If the keyboard is present and the contentView is tapped, the keyboard will disappear.
Implement tapContentView method.
You’ve now completed implementing the scroll view.
Connecting to SendBird with a UI Button
The UIButton that we added connects to SendBird. The button text will show the connection status.
Be sure to disable every UI element with which the user interacts when connecting.
You cannot connect to SendBird without a user ID. If you leave this field blank, the connection process will not activate. Enter a nickname so it will more accurately simulate a messaging app.
Now import SendBirdSDK.h into LoginViewController.m.
Connect the text fields for the user ID and the nickname to the userIdTextField and the nicknameTextField.
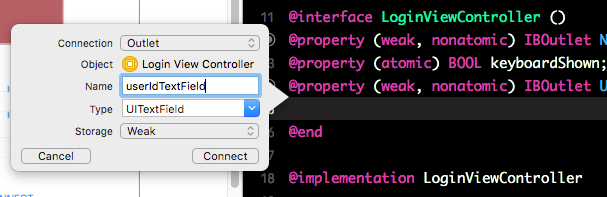
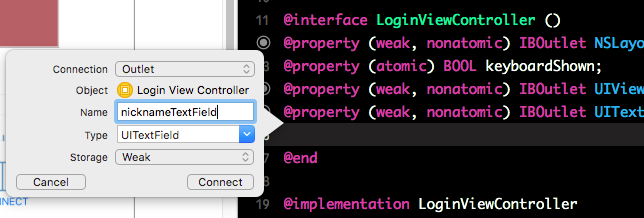
Connect the UIButton to the connectButton.
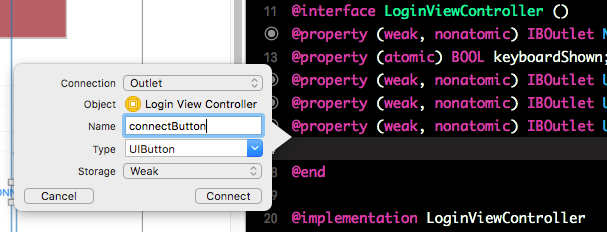
Add a click action to the connectButton.
Implement the clickConnectButton method. The method has to check the length of the text in the userIdTextField and nicknameTextField. If the length is zero, do nothing.
Read the text values from the userIdTextField and the nicknameTextField.
If the connection succeeds, then update the nickname. Before running the connecting method, be sure to disable the UI elements that the user can interact with. The connecting state will be displayed on the connectButton text.
If the connection isn’t open, you must run the above code in clickConnectButton. Insert an if statement to check the connection state.
The UIAlertController is the easiest way to show an error. If there is an error in the connectWithUserId:completionHandler:, all procedures for connecting must stop. However, if there is an error in the updateCurrentInfoWithNickname:profileUrl:completionHandler:, the procedure doesn’t need to stop, so the error handling will be omitted in the completion handler of the method.
Add the UIAlertController to the completion handler of connectWithUserId:completionHandler:. The error message is in the domain of SBDError. If an error exists, return from the completion handler and enable all UI elements. If no error exists, enable the connectButton to allow the user to disconnect later.
If the connection state is opened, you can disconnect the connection.
Now add the else statement. The disconnectionWithCompletionHandler: always succeeds. Its completion handler doesn’t return anything. We must enable all UI elements for the next connection with another user ID and nickname.
To hide the keyboard during every click button event, add the following code: [self.view endEditing: YES];
Completing the Login View with the default UI
You’ve now completed the basic code for LogIn. You’ll improve the UI in the next section.
Run the project on iPhone X simulator.
Get Started!
1,000 MAU and 25 connections free forever